
Building a Geocacher Network: A 6-Step Guide
You can plan, build, publish, and maintain a small geocaching network with multiple caches in six clear steps. The six steps are: planning, gathering materials, obtaining permissions, hiding and recording coordinates, creating and publishing the listing, and ongoing maintenance. If you follow this process, you will usually create your first small network within a few weeks.
- Planning: Define theme, area, and difficulty
- Materials: Obtain containers, logbook, and tools
- Permissions: Check with landowners and nature conservation authorities
- Hiding: Test on-site and measure coordinates
- Listing: Submit text, attributes, and photos
- Maintenance: Regularly inspect and communicate with finders
As an immediate measure, create an account on a platform, install an app, and get your first hiding materials. Then the rest will almost take care of itself.
Key Takeaways
A successful geocaching network is achieved when planning, appropriate equipment, obtained permissions, and a solid maintenance plan work together from the start.
| Topic | Details |
|---|---|
| Six core steps | Planning, materials, permissions, hiding, listing, maintenance form the fixed process. |
| Experience before building your own | First find about 20 other caches before submitting your own hide. |
| Realistically assess GPS | Expect 10 to 20 meters distance between the coordinate and the actual hide. |
| Cost per cache | Materials and containers usually cost between €5 and €25 per hide. |
| Starting materials from Cachewerk | Starter bundles and the Crossbody Bag provide suitable materials for a quick start. |
Table of Contents
- What you need: Accounts, apps, and basic equipment
- How do you plan area, theme, and difficulty?
- Which cache types suit your network?
- Containers, materials, and weather protection: What really works?
- Which permissions and rules apply to your network?
- How do you create a listing that reviewers approve immediately?
- How do you precisely record coordinates?
- How do you maintain a network long-term?
- What does your own geocaching network cost?
- Checklist before publication
- If you're looking for equipment: practical starter items
- Sources
What you need: Accounts, apps, and basic equipment
To get started, a free account on Geocaching.com, the largest platform, is sufficient. A free alternative is Opencaching, as the beginner's guide describes. On your mobile phone, you'll need an app: the official Geocaching® app or c:geo, an open-source solution for Android. Both offer offline maps, which makes all the difference when you're out of network coverage.
For equipment, very little is needed at the beginning:
- Smartphone with power bank
- Waterproof containers in various sizes (PETling, Micro, Small)
- A weatherproof logbook with a pencil
- Small tools for attachment and camouflage
Pro Tip: Buy a complete set instead of gathering individual items. The Geocaching-Starter-Bundle 1 includes a PETling, logbook, and holder in one package. The Starter-Bundle 2 comes with a different hanging mechanism. This saves you the hassle of collecting individual parts.
How do you plan area, theme, and difficulty?
A network thrives on coherence, not on randomly distributed containers. Choose either a geographical cluster (a patch of forest, a city district) or a thematic link (industrial history, old bridges, orchards). Both give finders a reason to search for multiple caches consecutively.
A few rules of thumb help with density:
- Maintain at least 150 to 200 meters distance between two caches
- Plan no more than six to eight stations per tour
- Incorporate a recognizable thematic framework so finders understand the common thread
- For a beginner's network, set difficulty and terrain to a maximum of two stars each
Before you hide a cache yourself, it's worth finding about 20 other caches and observing which hides, sizes, and listings work well.
Your planning checklist should also clarify: Who is the target group (families, experienced geocachers, night cachers)? How long should a tour take? Is the path accessible? And most importantly: Can you realistically reach each station regularly for maintenance?
Which cache types suit your network?
For a beginner's network, a few basic types are sufficient. The Traditional is the classic container at the given coordinates, ideal for getting started. A Multi-Cache leads through several stations to a final hide, good for longer themed trails. Mystery Caches require a puzzle before the actual search and are suitable as a bonus at the end of your network. An Event Cache is not a hide, but a community gathering. EarthCaches convey geological knowledge without a physical container, Letterboxes are similar to classic Traditionals with a stamp instead of a trackable.
Practical examples for hiding:
- Urban: a micro-container behind a fence post, keeping distance from private property
- Rural: a branch hide in deadwood, do not damage living trees
- Park: a magnetic container on a metal bench, avoid sightlines from muggles
Common beginner mistakes include overly obvious hides directly by the roadside and ignoring protected areas. A Bonus Cache, which only appears after finding all other stations, ties your network together and motivates participants to persevere.
Containers, materials, and weather protection: What really works?
The container size depends on the hide and its contents. Nano containers fit into cracks but do not contain a logbook. Micro is enough for a mini-logbook, Small for a logbook plus a few trade items, Large for entire trackable collections. Material should be waterproof, robust, and non-toxic; a PETling usually reliably fulfills this.
A logbook remains weatherproof if you put it in an additional clear sleeve and supplement it with silica gel against moisture. DIY solutions made from old film canisters work, but are rarely as watertight as ready-made PETlings or magnetic containers from specialized stores.
- PETling: inexpensive, lightweight, proven for forest and meadow
- Magnetic container: discreet on metal objects in the city
- Self-built containers: require additional sealing and testing
Secure the container so that it does not roll away or stand out, without tearing off bark or drilling holes.
Which permissions and rules apply to your network?
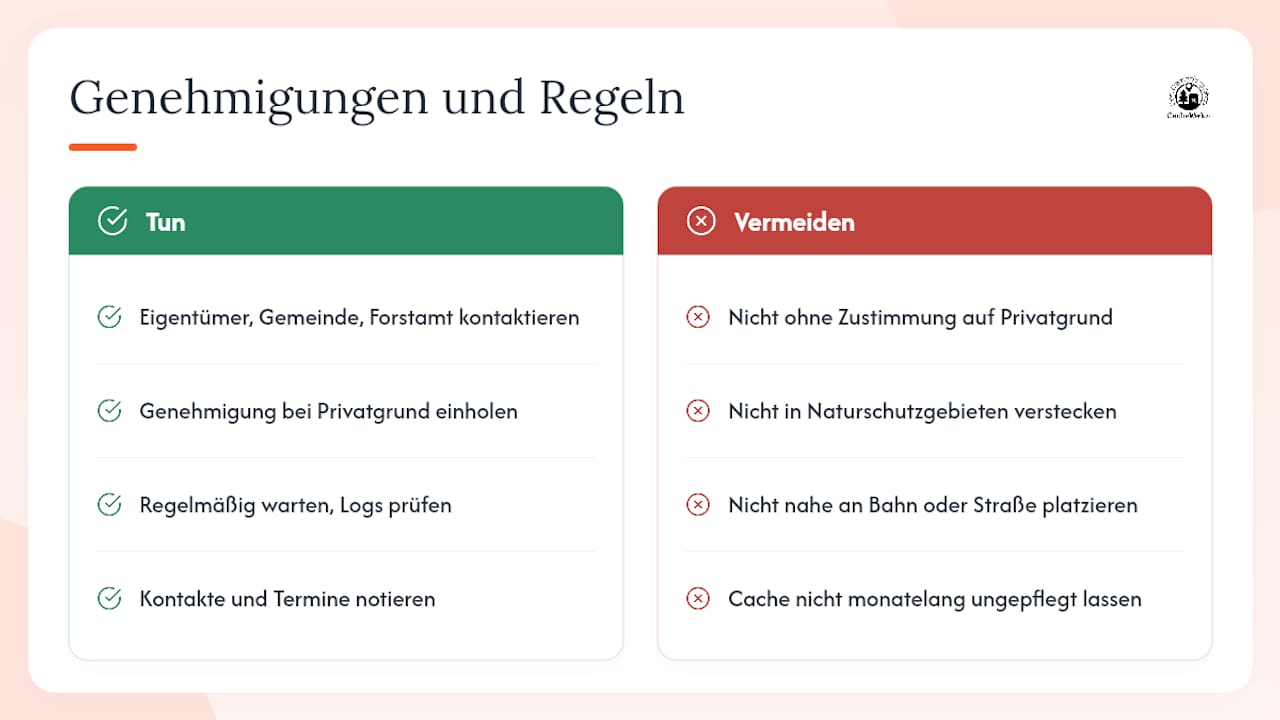
Basic rule: no cache on private property without permission, no hides in nature reserves, and sufficient distance from railway lines or roads. These restrictions apply to every permanent cache in Germany and are checked by reviewers before approval.
You almost always need permission if the hide is not on public, freely accessible land. Depending on the location, contact the landowner, the municipality, or the responsible forestry office. The official guide for the first hide explicitly advises to clarify these contacts before submission.
As an owner, you assume duties: regular maintenance, monitoring logs, and quick response when someone reports "Needs Maintenance." A broken or missing cache that remains unmaintained for months damages the reputation of your entire network.
Pro Tip: Immediately note for each cache who you contacted and when. This saves you a lot of searching if the reviewer asks questions or if there are complaints. These tips are not legal advice, they are practical experiences from the community.
How do you create a listing that reviewers approve immediately?
In the listing form, you proceed step by step:
- Choose a title that matches the theme of your network
- Specify cache type and container size
- Realistically assess difficulty and terrain
- Write a description, including accessibility information
- Set attributes (dog allowed, parking available, seasonally closed)
- Add a hint photo and the final coordinates
Good listing texts are specific: a slightly out-of-focus hint photo, a clear description of the last section of the path, and honest information about accessibility will save you follow-up questions later. Reviewers check every submission before a cache goes live; typical waiting times are a few days. Frequent questions concern missing permission proofs or insufficient distances to existing caches.
Pro Tip: When hiding, immediately write a short owner's note with the date, condition, and any special observations. These notes will form the basis of your later maintenance log.
How do you precisely record coordinates?
On-site, the routine is always the same: test the hide, take a hint photo, place the logbook, and restore the camouflage.
- Set GPS device or phone to WGS84 format
- Take multiple measurements several minutes apart
- Average the values instead of relying on a single measurement
- Note accessibility, hazards, and directions directly in the listing
Expect that commercial devices only provide about 10 to 20 meters of accuracy. That's why an additional hint in the listing describing the last few meters is worthwhile, instead of relying solely on the coordinates.
How do you maintain a network long-term?
Plan a visual inspection every three to six months: check the container's watertightness, the logbook's condition, camouflage, and path accessibility.
There are several models for organization. A single cache owner is sufficient for small networks, but carries a risk of failure. A loose round table distributes the burden among several shoulders but requires clear agreements. A registered association offers legal protection for events and a fixed structure for custodians, but entails more administrative effort.
- Update owner's log after each inspection
- Respond promptly to complaints in the listing
- Stock spare parts like logbooks and pens in advance
- Delegate tasks like refilling or repairs to trusted finders
Pro Tip: Ask active finders directly in the owner's log for help with minor repairs. Many geocachers are happy to help if you ask them specifically instead of just generally requesting support.
What does your own geocaching network cost?
Materials and containers typically cost between €5 and €25 per cache, depending on size and quality. For a network of five caches, you'll be roughly between €25 and €125. Premium memberships on the major platforms usually cost around €30 per year and are especially worthwhile for frequent finders.
Time-wise, you realistically need two to four weeks from the initial idea to publication, if permissions proceed quickly. Ready-made starter bundles save time compared to buying containers, logbooks, and fastenings individually.
Checklist before publication
Before submitting your listing, go through these points:
- Coordinates measured multiple times and averaged
- Logbook placed dry and functional
- Hint photo taken and uploaded
- Permission obtained from owner or authority
- Container checked for watertightness
- Accessibility and safety warnings mentioned in the text
- Attributes fully set
- Reviewer note with proof of permission prepared
Have a friend or mentor do a test run before you click "Publish." And don't forget owner monitoring after launch; it's not a one-time task.
Brief opinion: From the perspective of an experienced owner
A good hide shares a place that no one else would notice; that's the real appeal. The most surprising tip: Plan maintenance before the first cache, not after, otherwise it becomes a burden instead of a routine. Start small, with three or four caches, and only expand your network once maintenance is truly running smoothly.
If you're looking for equipment: practical starter items
An own network stands or falls with suitable material, and that's exactly where Cachewerk helps you with pre-assembled sets instead of hours of searching for individual items in hardware stores or craft shops.
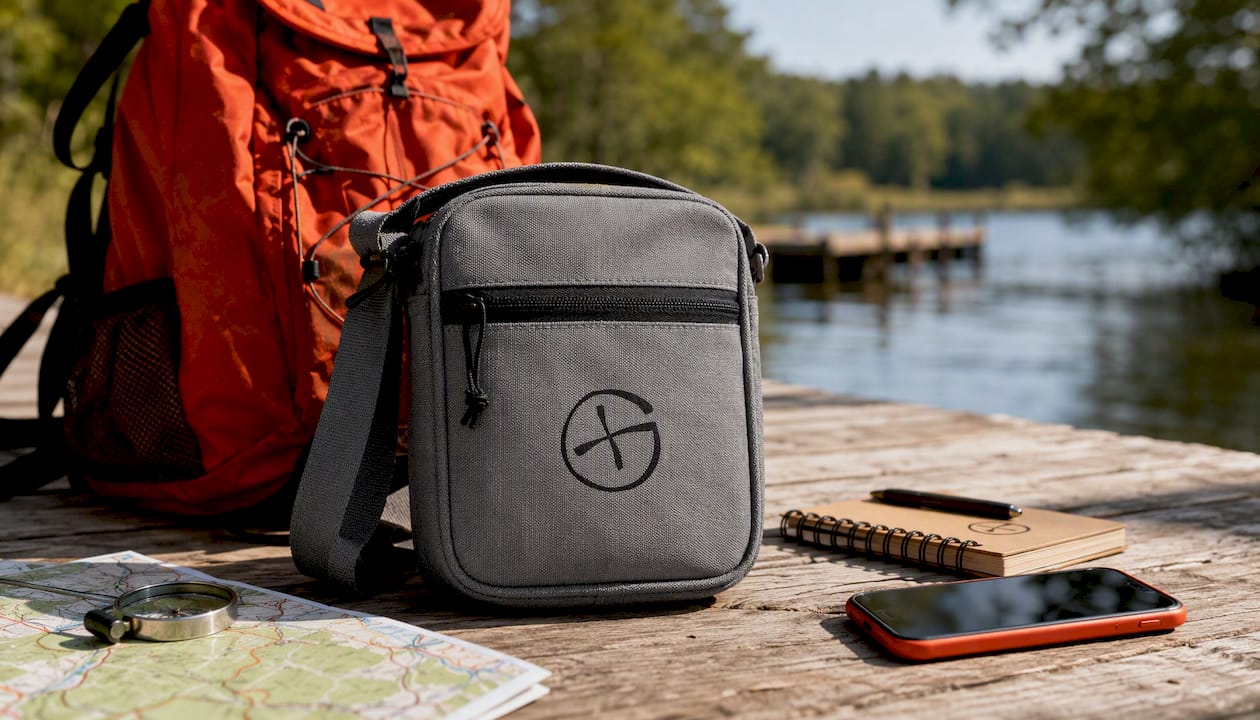
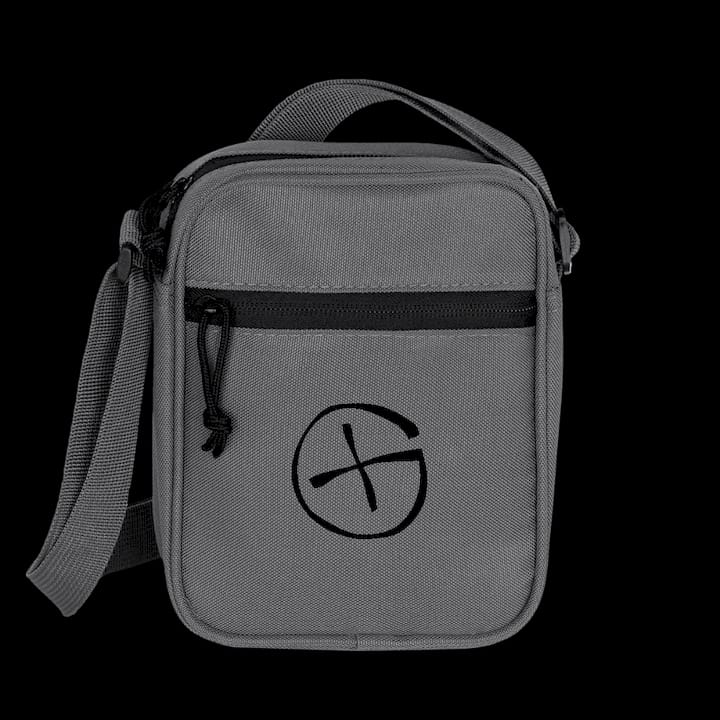
For beginners, it's worth taking a look at two combinations: The Geocaching-Starter-Bundle 1 provides a PETling, logbook, and holder in one go, while the Starter-Bundle 2 offers the same basis with a different suspension, practical if you plan for different types of hides. For longer control tours through your network, the Crossbody Bag with Opencaching logo is useful, as it keeps spare logbooks, tools, and trackables within reach. If you plan your network as a group project, you'll find more ideas for involving helpers in the guide to Geocaching Communities, and if you want to combine events with movement, take a look at Team Building with Sports.
Starter bundles mainly save you time: suitable size, suitable material, no searching for individual parts in different shops. Check out the Cachewerk range; most items are quickly deliverable so your first hide can be ready this week.
Sources
If you want to delve deeper, Geocaching.com provides the official rules for your first hide and the reviewer process. Travelicia's beginner's guide explains platforms and apps in detail, while the guide for groups (PDF) practically demonstrates coordinate formats and waypoint logging. Read up on these before submitting your first listing.
- How to Hide Your First Geocache – Official Blog
- Geocaching: The Ultimate Beginner's Guide
- DIY Geocaching: Instructions in 6 Steps + Apps
- Geocaching for Beginners: The 10 Best Tips
- Geocaching — Wikipedia