
Micro Cache Construction Guide: DIY Step-by-Step for Geocachers
Yes, here's how to build a weatherproof micro-cache: With a materials list, a clear procedure, and the right testing protocol, you'll be done in 2-4 hours.
- Time Required: 2-4 hours for construction plus 48-72 hours for drying and testing
- Material Costs: roughly 5-20 € for a simple micro-cache (depending on container and camouflage)
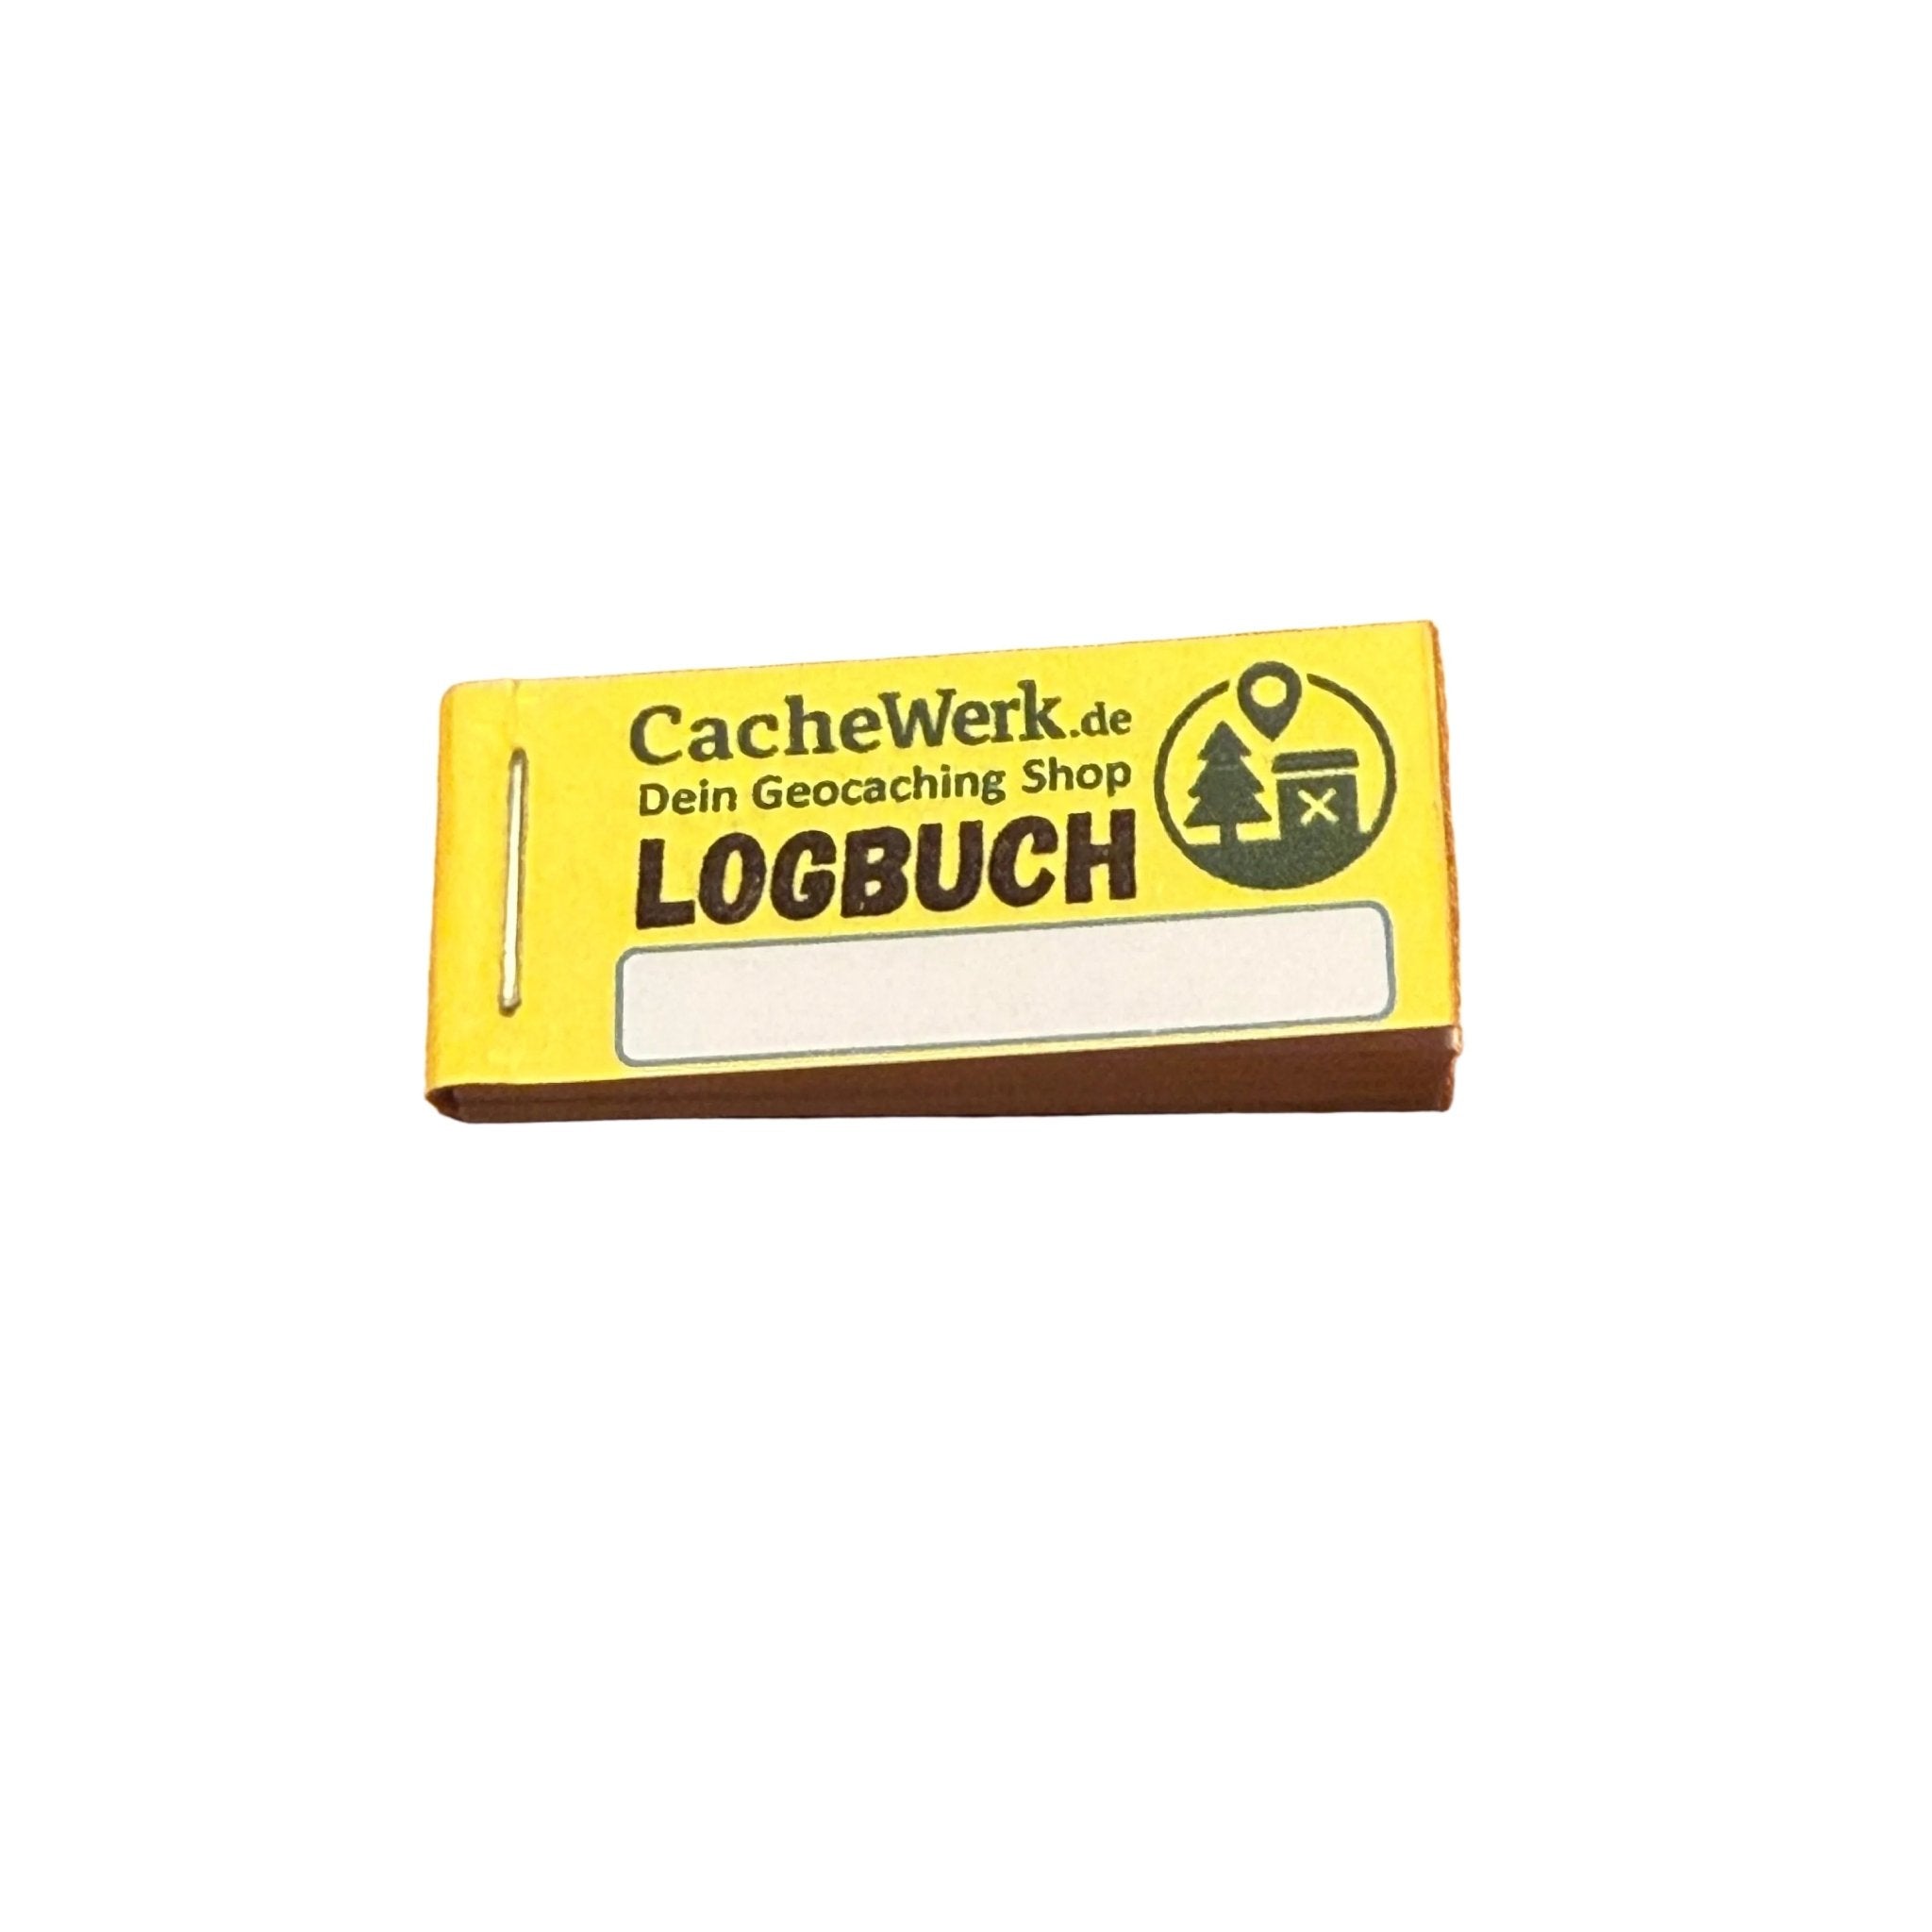
- Recommended Start: The Geocaching Starter Bundle 1 from Cachewerk provides PETling, logbook, and mount directly as a set
- Mandatory Step Before Placement: Obtain owner permission and check the conservation status of the location (Germany)
A micro-cache is a small hiding container of "Micro" size class according to geocaching standards, typically under 100 ml volume. The term also appears in IT, where microcaching describes short cache lifetimes. In geocaching, it simply means: small, well-camouflaged, weatherproof.
Key Takeaways
A weatherproof micro-cache can be reliably achieved if sealing, testing protocol, and site inspection are consistently carried out.
| Topic | Details |
|---|---|
| Time and Cost | Construction in 2–4 hours, material costs 5–20 €, plus 48–72 h test time |
| Sealing is Crucial | EPDM O-ring plus silicone and silica gel reliably protect against moisture and frost |
| Legal Obligation before Deploy | Owner's permission and nature conservation check are mandatory in Germany |
| Maintenance Interval | Check and replace logbook, seal, and silica gel every 3–6 months |
| Cachewerk Entry | Starter Bundle 1 or 2 provides all core parts for the first micro-cache as a complete set |
Table of Contents
- What do you need for the micro-cache construction process?
- Step-by-step construction process: From idea to deploy
- How do you protect your micro-cache from moisture and frost?
- What do you need to consider legally and ethically in Germany?
- How do you test your cache and when do you maintain it?
- What errors occur during construction and how do you avoid them?
- Printable quick-check checklist for construction and deploy
- How do you dispose of components in an environmentally friendly way?
- What really makes a good micro-cache?
- Cachewerk makes your entry easier
- Sources
What do you need for the micro-cache construction process?
Good preparation saves time later. Here's everything you need, broken down by function:
Containers and Canisters
- PETling (film canister replacement made of PET, e.g., in the Geocaching Starter Bundle 2 from Cachewerk)
- Ammo box hide for more robust outdoor use: the Geocaching Ammo Box Trick Edition from Cachewerk
- Nano container for urban spots, e.g., the Rusty Bolt Cache from Cachewerk (camouflaged bolt)
- 3D-printed survey point with ground sleeve: the Survey Point Hide from Cachewerk, ideal for recessed locations
Sealing and Gasketing
- Transparent silicone (sanitary grade) or EPDM sealing ring
- Heat shrink tubing (2:1 or 3:1) for cable routing in electronic caches
- Silica gel packets (2-5 g) against condensation
Camouflage and Disguise
- UV-resistant acrylic paint (matte, earth tones)
- Structural paste or bark pieces for natural hides
- Magnetic strips (Neodymium, min. N35) for metal surfaces
Mounting
- Stainless steel screws (A2 or A4) for outdoor use
- Cable ties (UV-resistant, black)
- Double-sided adhesive tape (outdoor, e.g., 3M VHB)
Logbook and Tools
- Weatherproof logbook (included in the starter bundle) or parchment paper, tightly rolled
- Pencil or waterproof pen
- Utility knife, sandpaper (120 grit), hot glue gun
All Cachewerk products can be ordered in Germany. Silicone, heat shrink tubing, and stainless steel screws can be found at hardware stores (Hornbach, OBI, Bauhaus) for a few euros.
Step-by-step construction process: From idea to deploy
This procedure applies to mechanical micro-caches without electronics. Gadget caches with data loggers will have a separate note at the end.
- Design and Rule Check: Decide where the cache should be located and what size fits. Immediately check: Is the location on private property? Is it in a nature reserve? Nothing proceeds without owner permission. Read the current Groundspeak and Opencaching guidelines.
- Prepare Container: Clean the container with isopropanol. Lightly sand smooth plastic surfaces (120 grit) so that paint and glue adhere.
- Insert Logbook: Roll the logbook tightly, put it in a small plastic foil, and place it in the container with a silica gel packet. The packet absorbs residual moisture.
- Apply Seal: Apply a thin bead of silicone to the lid rim. For PETlings, an EPDM O-ring in the groove is sufficient. Let it dry for 24 hours before proceeding.
- Build Camouflage: Apply UV-resistant acrylic paint in 2-3 thin coats. Allow 30 minutes drying time between coats. For bark texture: dab structural paste with an old brush, then paint.
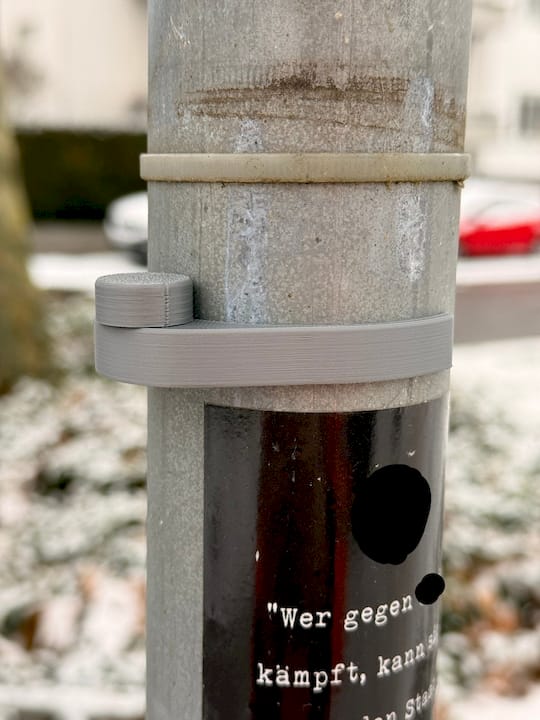
- Mount Fastening: Glue neodymium magnets with epoxy adhesive (2-component) to the bottom if the cache is to be on metal. For screw fastening: stainless steel screw through pre-drilled hole, washer inside.
- Finalization: Label the inside of the cache with your geocaching username, the note "Please replace," and a contact email. Close the container and proceed to the testing protocol.
Gadget Cache with Data Logger: If you install an electronic logger like the Apogee µCache (AT-100), you should read the manufacturer's manual. The sampling interval directly determines battery life: at 1-second intervals, capacity drops to a few days, while at 15-minute intervals, several months are realistic. Bluetooth pairing and data export are done via app. Protect the electronics with heat shrink tubing at all cable entries.
Pro Tip: Glue a small note with the construction date and sealing material type inside the lid. This greatly helps with maintenance because you immediately know what materials were used.
How do you protect your micro-cache from moisture and frost?
Moisture is the most common reason why micro-caches fail after a few months. The most reliable combination: an EPDM primary seal plus a secondary shrink sleeve at critical transitions.
- Silicone (sanitary grade): Adheres to plastic and metal, remains flexible down to approx. -40 °C, withstands UV radiation
- EPDM O-ring: Dimensionally stable, pressure resistant, ideal for PETling lids
- Heat shrink tubing (3:1): For cable entries in electronic caches; tightens around the cable when heated
- UV-resistant acrylic paint: Prevents material fatigue due to sun exposure
- Stainless steel screws (A4): Do not rust, even with continuous moisture
Test protocol: Place the finished cache in a bowl of water for several days (completely submerged). Then open and check the logbook: dry? Then it passes the basic test. Additionally: simulate temperature changes (refrigerator to room temperature) to provoke condensation.
Pro Tip: Drill a tiny ventilation hole (approx. 0.5 mm) in the bottom of the container and seal it with a drop of silicone from the inside. This allows pressure equalization without letting water in. Combine it with a silica gel packet for maximum protection.
Do not underestimate drying times: Silicone typically takes about a day, epoxy adhesive several hours to a day, acrylic paint about half an hour per coat.
What do you need to consider legally and ethically in Germany?
Landowner consent and nature conservation checks are almost always mandatory in Germany before you place a cache.
- Private Property: Obtain and document written or verbal permission from the owner
- Nature Reserves: Check via the protected area register of the respective state authority (search term: "Schutzgebiete [Bundesland] Karte")
- Urban Regulations: Some municipalities have their own regulations for caches on public buildings or in parks
- Utility Installations: Do not place caches on or near hydrants, electrical boxes, or emergency facilities
- Logbook Data Protection: Do not require full real names in the logbook; geocaching usernames are sufficient
- Groundspeak/Opencaching Guidelines: Both platforms have their own listing rules; cache size, container type, and coordinates must be correctly specified
Those looking for safe caching tips and ethical placement instructions will find concrete examples of rule-compliant hides on the Cachewerk blog.
Note: This article provides general information. For binding legal advice, please contact the relevant authority or a lawyer.
How do you test your cache and when do you maintain it?
Before deployment: several days of moisture testing, then a visibility check about a day after placement at the actual location. After that, regular maintenance every 3-12 months depending on weather and location.
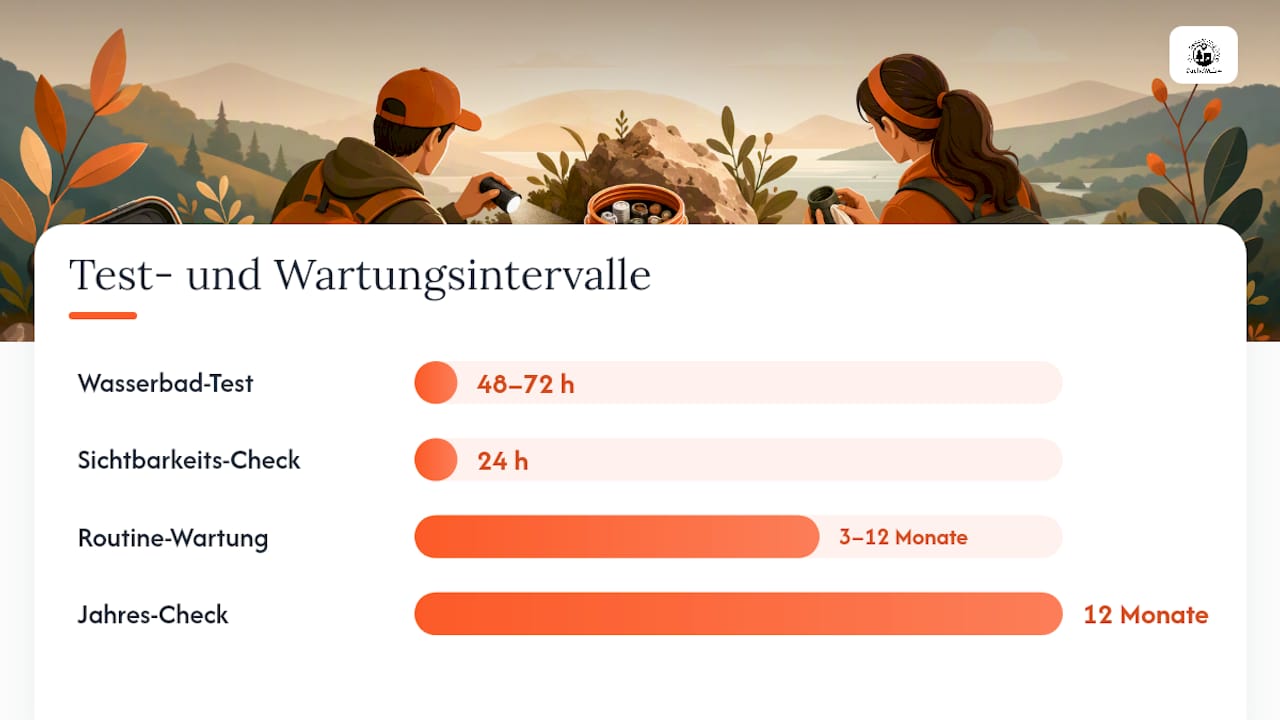
| Test Step | Timing | Action |
|---|---|---|
| Water Bath Test | Before Deploy, 48–72 h | Submerge completely, check logbook for dryness |
| Temperature Change | Before Deploy | Refrigerator (4 °C) to room temperature, check for condensation |
| Visibility Check | 24 h after placement | Is cache inconspicuous? Camouflage intact? |
| Routine Maintenance | Every few months | Replace logbook, check seal, renew silica gel |
| Annual Check | Annually | Check mounting, paint, container for cracks |
Approximate Maintenance Costs: Logbook replacement approx. €0.50–1, silica gel refill approx. €1–2, sealing ring replacement approx. €0.50. A complete container replacement costs €3–10.
- Always keep spare logbooks and silica gel in stock
- Link maintenance visits to your Geocaching profile (set a Maintenance Log)
- For electronic caches: change batteries according to manufacturer's instructions, document sampling interval
What errors occur during construction and how do you avoid them?
- Insufficient Sealing: Apply silicone only to clean, dry surfaces. Remove grease residue with isopropanol, otherwise, it won't adhere.
- Wrong Camouflage: Paint that shines or doesn't match the surroundings will stand out immediately. Always work with matte earth tones.
- Location with Vandalism Risk: Busy places without natural cover are risky. Choose a spot with visual protection instead.
- Logbook Too Large: A logbook that can only be rolled up with force will swell and block the lid. Measure before buying.
- Magnet Too Weak: N35 neodymium magnets are the minimum. Weaker magnets won't hold in wind and vibrations.
- Battery Errors in Electronics: Short sampling intervals (under 1 minute) drain batteries quickly. Set the interval to at least 15 minutes and document it.
- No Versioning: If you revise the cache, note the date and change inside. This facilitates later maintenance.
Printable quick-check checklist for construction and deploy
Print this list and check off each item before placing the cache.
Preparation
- [ ] Site checked for private property/nature conservation
- [ ] Owner's permission obtained and documented
- [ ] Container, logbook, and sealing material available
Construction
- [ ] Container cleaned and sanded
- [ ] Logbook with silica gel inserted
- [ ] Seal applied and dried for 24 h
- [ ] Camouflage built up in 2–3 layers
- [ ] Mounting (magnet/screw) firm and checked
Seal Test
- [ ] Passed 48–72 h water bath
- [ ] Passed temperature change test without condensate
Ethics and Law
- [ ] Groundspeak/Opencaching guidelines read
- [ ] No utility installations in the immediate vicinity
- [ ] Cache listing correctly filled out (size, type, coordinates)
After Placement
- [ ] Visibility check after 24 h
- [ ] Maintenance log set in profile
- [ ] Next maintenance date noted (3–6 months)
- [ ] Photo archive of the hide created (for documentation)
Keep your deployment protocol (date, location, materials, photos) safe. It helps with maintenance and inquiries from the platform.
How do you dispose of components in an environmentally friendly way?
Broken PETlings and plastic containers belong in the yellow bin or recycling bin, provided they are made of single-sort PET or PP. Mixed plastics should be taken to a recycling center.
Electronic components (circuit boards, batteries, loggers) should never be thrown into household waste. Batteries belong in collection points at supermarkets or hardware stores. Electronic scrap is accepted free of charge at municipal recycling centers.
Neodymium magnets are special waste because they contain heavy metals. These also go to the recycling center. Silica gel packets can be dried (90 °C, 2 hours in the oven) and reused several times before being disposed of in residual waste.
If you don't want to throw away containers: Old PETlings are suitable as replacement logbook covers or as containers for trade items in larger caches. Let small amounts of acrylic paint residue dry and dispose of them with the residual waste; never pour them down the drain while liquid.
What really makes a good micro cache?
Most micro caches fail not due to construction, but due to maintenance. Anyone who places a cache takes responsibility for a period of months to years. A cache that is soaked after the first winter and has an unreadable logbook frustrates finders and damages the cache owner's reputation.
The test protocol with a 48–72 hour water bath sounds like a lot of effort, but it isn't. It costs a bowl of water and some patience. Those who skip this step risk early failure. And a cache that has to be archived after three months was not a time-saver.
When it comes to camouflage: Less is often more. A PETling that is perfectly fitted into tree bark beats any elaborately painted container that still doesn't match the surroundings. Look at the location in different lighting conditions before choosing the color.
And one more thing: The size class decision is worth making before construction, not after. A micro cache in a location that would actually allow a regular cache misses out on potential.
Cachewerk makes your start easier
If you want to save time, go straight for one of the Cachewerk starter packs. The Geocaching Starter Bundle 1 includes a PETling, weather-resistant logbook, and holder, while Starter Bundle 2 supplements the set with a hanging device for more placement options. Both bundles are designed for the German market and for immediate outdoor use.
For urban spots, the Rusty Bolt Cache is the clever choice: a deceptively real screw bolt with a nano-container that surprises even experienced geocachers. Those looking for more robust outdoor hiding places will find two durable options made from PETG print in the Ammo Box Trick Edition and the Survey Point Hide.
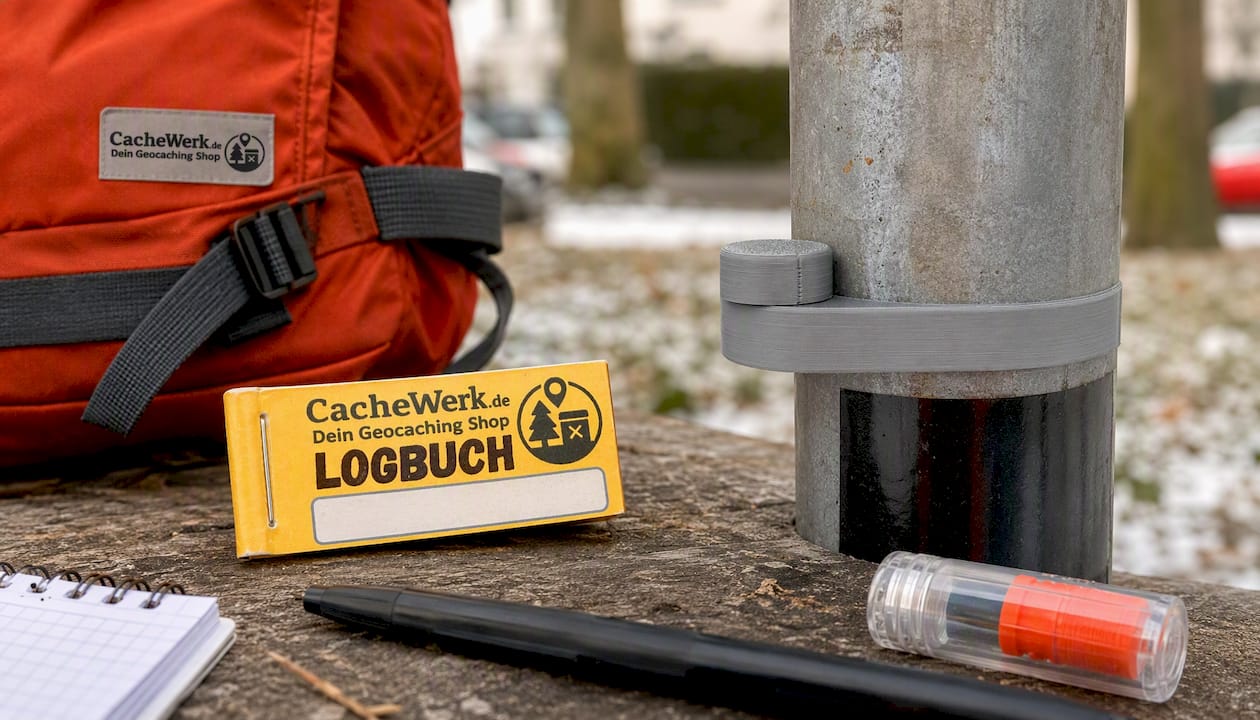
Check out the complete Geocaching accessory range from Cachewerk and choose the package that suits your next hide.
Sources
- Why You Shouldn’t Microcache Your Site ⋆ LiteSpeed Blog
- MANUAL µCACHE
- microCache Bluetooth Micro Logger - Apogee microCache Support - Apogee Instruments, Inc.