Geocaching Packing List: 6 Essential Items, Extras, Backpack Sizes

A pen, your smartphone or GPS device including a power bank, enough water, a flashlight, a trash bag for Cache In, Trash Out, and a small multi-tool: These are the six things that should not be missing from any geocaching backpack. For short city tours, a compact shoulder bag is sufficient, but for longer hikes, you'll need a real daypack with 20 to 30 liters. How to sensibly expand this basic equipment and which backpack size truly suits your tour can be found in the following sections.
In a nutshell:
- A waterproof pen and a spare pen are essential for reliably writing in cache logbooks.
- For more challenging hides, additional tools like magnetic grabbers, UV lamps, and telescopic mirrors are useful.
- The backpack size should depend on the duration of the tour; for longer hikes, 15 to 30 liters are recommended.
- For longer, remote tours, a map, compass, and offline maps are essential as backup tools.
- Ready-to-use complete solutions from Cachewerk save beginners time and prevent mispurchases.
Table of Contents
- Standard Packing List: The Basic Equipment for Almost Every Cache
- Extended Cacher Equipment: When Additional Tools Are Worthwhile
- Which Backpack Suits Your Cache Tour?
- Safety, Provisions, and the CITO Etiquette on the Go
- Navigation Without GPS: Map and Compass as a Fallback
- Planning a Cache Tour: Route, Timeframe, and Breaks
- What Most Packing Lists Get Wrong
- Suitable Equipment from Cachewerk for Your Next Tour
- Sources
Standard Packing List: The Basic Equipment for Almost Every Cache
These items belong in every backpack, whether you're taking a stroll in the park or searching for a multi-cache in the forest. The standard packing list deliberately differs from the extended equipment, which you only need for certain cache types.
- Pens, at least two. A waterproof pen is a must, because without it you cannot log a found cache in the logbook. A second pen as a spare is also essential, because ink cartridges often fail in cold weather and ballpoint pens don't work in the rain.
- Navigation via smartphone or GPS device. Download cache descriptions and GPX files in advance so you can continue even without reception.
- Power bank and spare batteries. A dead battery in the middle of the forest is annoying. A small power bank with sufficient capacity is enough for a whole day outdoors; for dedicated GPS devices, spare batteries in the side pocket are also worthwhile.
- Flashlight or headlamp. Many hides are in caves, under bridges, or in dense bushes, where there's hardly any light even during the day. A headlamp has the advantage of keeping both hands free.
- Tweezers for micro caches. Tiny containers with a rolled-up log strip are difficult to open without tweezers without tearing the paper.
- Small multi-tool. A mini-pliers, a blade, and a screwdriver cover most situations, such as when a cache container is stuck or a trade item needs to be packaged.
- Duct tape or electrical tape. Practical for temporarily repairing damaged containers or wrapping a logbook waterproof.
- Camera or smartphone for documentation. A photo of the discovery site or the surroundings helps with later online logging and is fun when looking back at the tour.
Regional packing lists from the community confirm exactly this combination: GPS, power bank, flashlight, and multi-tool consistently appear as core items.
Pro Tip: Always pack your electronics in a small zip-lock bag before putting them in your backpack. Even a light rain jacket in your backpack doesn't protect against condensation that forms in the inner compartment due to temperature changes.
Extended Cacher Equipment: When Additional Tools Are Worthwhile
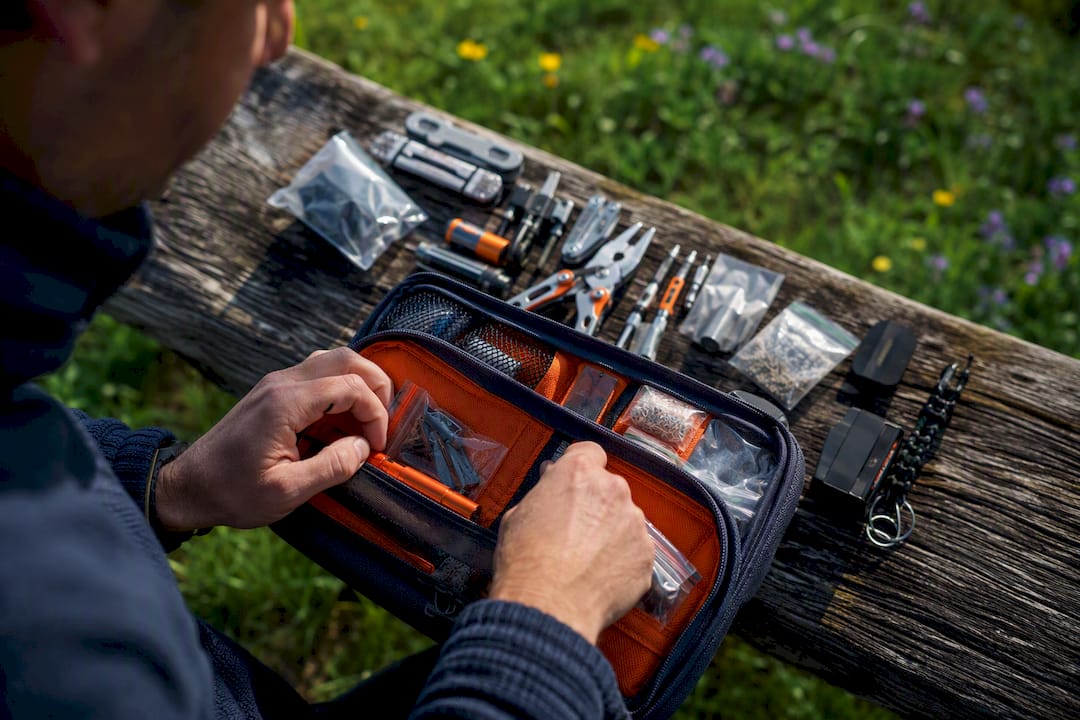
The so-called Extended Standard Equipment, or ECA, comes into play as soon as you venture into more challenging hides. CacheWiki explicitly lists the backpack as the central means of transport for these additional tools, because without structured storage, the bag quickly becomes cluttered.
- Magnetic grabber. Indispensable for caches magnetically attached to guardrails, lampposts, or metal fences.
- Telescopic mirror. Helps to look into cavities, pipe ends, or under benches without having to squeeze yourself in.
- UV flashlight. Some owners mark hints with UV-reactive ink that only becomes visible under black light.
- Telescopic gripper. Practical for hides in tree forks or narrow crevices that cannot be reached by hand.
- Thin work gloves. Protect against thorny bushes, rusty metal parts, or simply disgusting, damp hides.
- Weatherproof covers for logbooks and PETlings. Especially with self-made or found nano and micro containers, an additional cover prevents moisture from destroying the paper.
Not every tour needs the complete ECA set. For a simple Traditional in the park, the standard packing list is completely sufficient, but for multis with a high terrain rating or caches in urban environments with many hides on metal objects, the additional weight is definitely worthwhile.
Pro Tip: Pack the ECA tools in a separate, small nylon bag that you only transfer from the car or closet to your backpack when needed. This way, you don't carry unused weight on every round.
Which Backpack Suits Your Cache Tour?
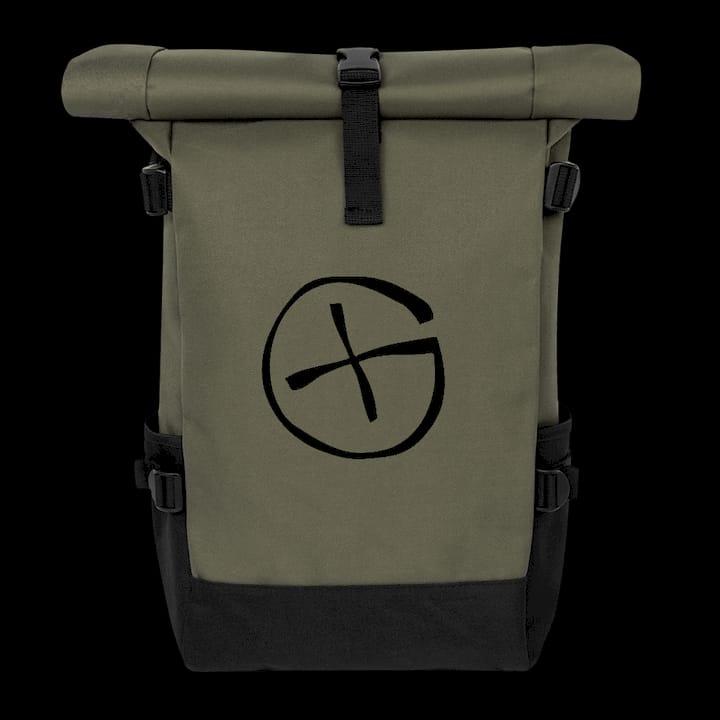
The backpack size is primarily determined by the planned tour length. For a city round with a few caches, a compact shoulder bag with a small volume is completely sufficient. As soon as you're out longer, a larger volume becomes useful: For day hikes, hiking guides recommend backpacks between 15 and 30 liters; for multi-hour full-day tours with provisions and a change of clothes, it can even be more.
When choosing, these features are particularly important in addition to volume:
- A chest strap and hip belt distribute the weight to the hips instead of solely to the shoulders, which provides noticeable relief on multi-hour tours.
- An integrated or carried rain cover protects logbooks, electronics, and provisions in case of sudden weather changes.
- Separate outer pockets for a pen, smartphone, and flashlight save you from rummaging through the main compartment for every find.
When packing, a simple rule from practice applies: Heavy items belong close to the back, frequently needed items like a pen and GPS go to the top or into the side pockets. It's best to store electronics in a waterproof inner bag, regardless of how weather-resistant the backpack itself is advertised. After every muddy or rainy tour, a quick check for moisture in the inner lining is also worthwhile before storing the backpack again.
Safety, Provisions, and the CITO Etiquette on the Go
For shorter rounds up to two hours, a bottle of water is usually sufficient; for full-day tours, you should plan at least one liter per person plus an energy bar. A FITTASTE guide to protein-rich snacks provides useful ideas for on-the-go that satisfy longer than traditional sweets.
Cache In, Trash Out is part of the lived geocaching etiquette: A small trash bag in your backpack costs almost no weight but makes you ready at any time to dispose of found waste on the way back. This practice significantly increases the acceptance of geocaching among residents and authorities because it shows geocachers actively contribute to the cleanliness of the environment instead of just consuming.
For safety equipment, you should carry:
- A small first-aid kit for scrapes and blisters.
- A signal whistle, especially on tours off marked paths.
- Weatherproof clothing, even if the sky is blue at the start.
- Information to a second person about your whereabouts, plus a charged power bank for emergencies.
Navigation Without GPS: Map and Compass as a Fallback
A smartphone can fail, the battery can die, or there may simply be no network in remote forest areas. Therefore, an analog fallback level belongs in every well-sorted backpack, especially on longer tours far from civilization.
A topographical hiking map of the region costs little and weighs almost nothing. Supplemented by a simple compass, you can roughly determine the direction to the next cache or back to the starting point even without a functional GPS. Anyone who regularly travels in areas with poor network coverage should write down the coordinates of the planned caches by hand beforehand, as an additional safeguard to the digital version.
Offline map material is the more pragmatic solution for most geocachers. Map services based on OpenStreetMap can be downloaded in advance and work completely without an internet connection, which also saves battery because the smartphone is not constantly searching for a network. How to set up such offline maps in detail is explained in the Practical Guide to Live Maps in Geocaching. A map and compass do not replace GPS for the last few meters to the hide, but they reliably rescue you from situations where technology fails.
Planning a Cache Tour: Route, Timeframe, and Breaks
A good packing list is of little use if the tour itself is poorly planned. Before you set off, it's worth taking a quick look at the cache descriptions along your planned route: terrain rating, estimated search time, and hints from other geocachers in the logbook often reveal more than just the difficulty rating.
Plan realistic timeframes. A single multi-cache with several stages can easily take two hours, especially if puzzles need to be solved on-site. If you want to combine several caches in one day, it's better to plan for fewer stops than expected, as search times are hard to predict. The time of sunset is just as important for planning as the weather, especially in autumn and winter when it gets dark early.
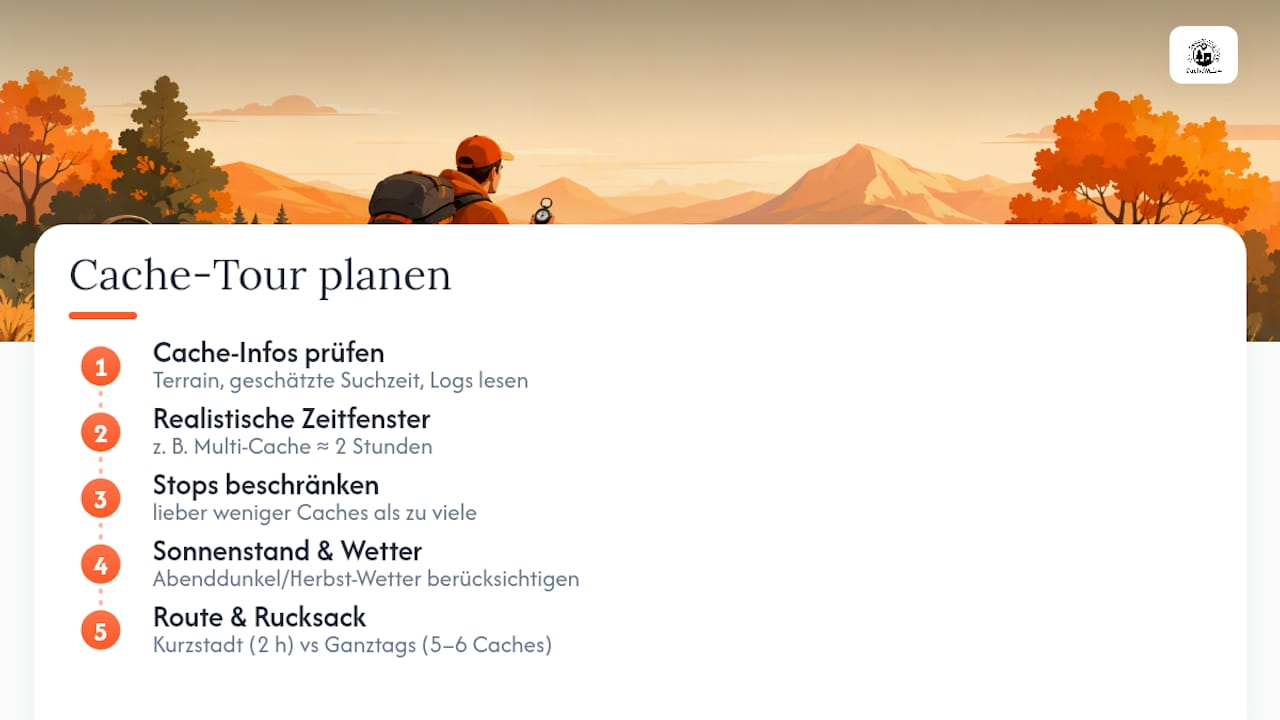
A rough route with intermediate destinations also helps to realistically estimate backpack size: a two-hour city tour requires different equipment than a full-day hike with five or six caches. Those who regularly combine geocaching with longer hikes will find concrete approaches for time and route planning in the practical guide to combining geocaching and hiking.
What Most Packing Lists Get Wrong
The usual packing lists online mix basic and additional equipment randomly. This leads to beginners either setting off with a half-empty backpack or immediately carrying ten kilos of tools that they never use in nine out of ten cases.
The distinction between standard equipment and ECA is therefore not a nice detail, but the actual core of a usable packing list. Anyone who takes this distinction seriously automatically packs according to the situation: light and quick for a city round, equipped and robust for a forest day with metal hides. The backpack size itself is also often underestimated. Many habitually grab the same backpack instead of adapting it to the tour, and then wonder about back pain or constant repacking on the go. My clear priority for beginners: first reliably handle the six basic items, then think about magnetic grabbers and telescopic mirrors.
— Benedikt
Suitable Equipment from Cachewerk for Your Next Tour
For those who don't want to start from scratch, Cachewerk offers ready-made solutions instead of individually collected parts, which saves beginners time and prevents mispurchases.
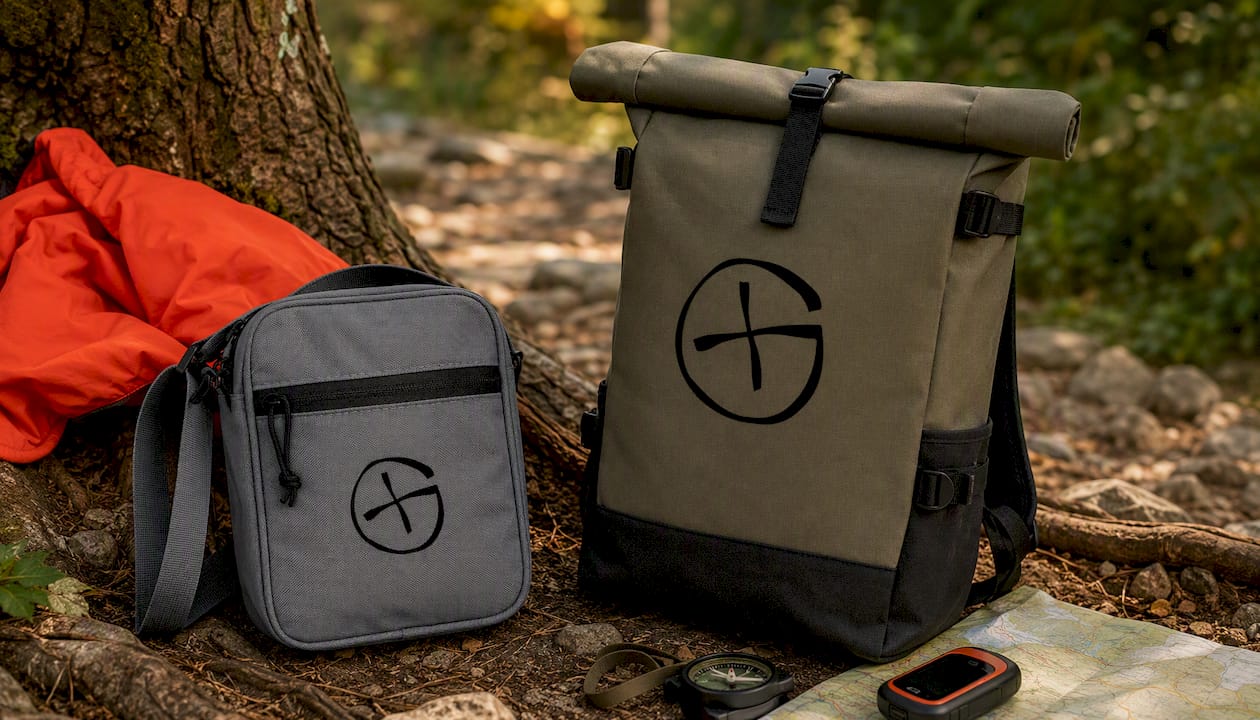
For a quick city tour, the Crossbody Bag with Opencaching logo is suitable: compact enough for a pen, smartphone, and power bank, and quickly accessible without having to take off the entire backpack. For full-day tours and hikes with more luggage, the Roll Top Backpack with Opencaching logo is an option, with more volume for provisions, a change of clothes, and ECA tools. Those just starting out and who don't yet own their own hides or equipment can begin with the Geocaching Starter Bundle consisting of a PETling, logbook, and suitable holder, ready for immediate use without any crafting effort.
If you prefer to put together your own kit instead of buying, the step-by-step guide to geocaching equipment provides concrete DIY approaches for self-equipment. Just check out the shop and find the set that suits your next tour.
Sources
The Official Geocaching Blog and CacheWiki provide in-depth, community-verified equipment lists for those who want to delve deeper.