
Workflow Geocaching: Smartly Hiding Miniature Objects
A structured workflow for hiding geocaching miniature objects is the crucial difference between a cache that gets archived after two weeks and one that delights for years. Miniature objects in geocaching, often referred to as MiniCaches or Nano-caches, are containers with an interior space of less than 100 ml, holding a logbook and sometimes small trade items. The Geocaching Miniature Objects Hiding workflow covers all steps from the initial idea, material selection, and manufacturing to publishing via the Geocaching® App. Once this process is internalized, building becomes faster, better, and more fun.
What preparations and tools do you need for miniature objects?
Good preparation is the foundation of every successful geocache miniature hide workflow. Without the right materials and tools, even the most creative ideas fail to be implemented.
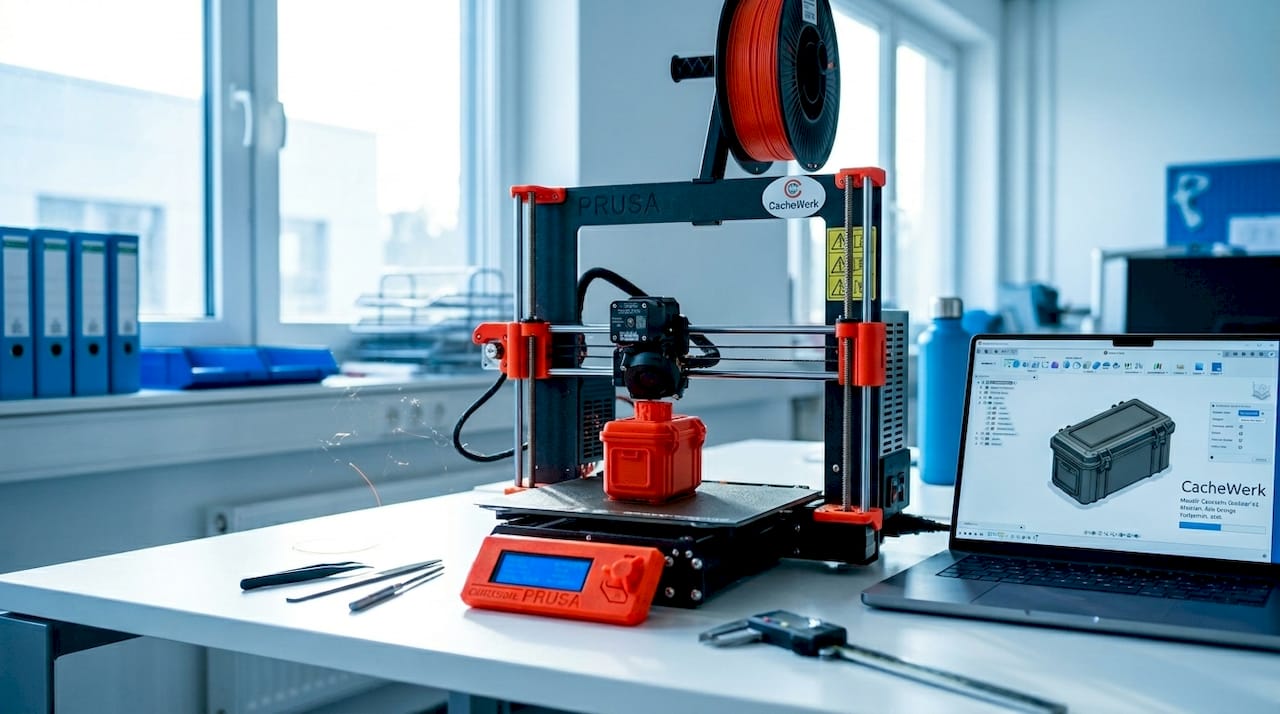
Materials for the Cache Container
The choice of material determines how long your hide will withstand the elements. These options have proven effective in practice:
- PETG and ASA (3D Printing): PETG with 30 to 100 percent infill and ASA offer the best weather resistance for 3D-printed mini-caches. ASA is particularly UV-resistant and suitable for sunny locations.
- PETling: Inexpensive, transparent plastic tubes with screw caps. Ideal for beginners and forest hides.
- Wood: For handmade hides like the classic mini-pseudo-birdhouse. Inexpensive, natural-looking, and easy to work with.
- Magnetic Boxes: Magnetic boxes with 8 mm by 2 mm magnets, printed in ASA, adhere reliably to metal surfaces and are perfect for urban hides.
Tools and Digital Aids
| Tool | Application Area | Recommendation |
|---|---|---|
| 3D Printer (FDM) | Housings, containers, special shapes | Bambu Lab, Prusa, Ender |
| Tinkercad / FreeCAD | CAD modeling for custom designs | Tinkercad for beginners |
| Geocaching® App (from version 10.7.0) | Coordinates, attributes, listing | Mandatory for app workflow |
| Drill and screws | Mounting on trees, posts | Stainless steel for outdoor use |
| Sealant / Silicone | Improve waterproofing | Transparent silicone |
| Glue and paint | Camouflage and surface design | Weather-resistant acrylic paint |
Pro Tip: Download Tinkercad for free in your browser and start with ready-made geocaching templates from platforms like Cults3D. This saves hours of design time and allows you to start printing immediately.
The Geocaching® App from version 10.7.0 allows you to create caches directly and capture coordinates on site. This means you no longer need a desktop computer for the first step.
How do you design the building and hiding process step by step?
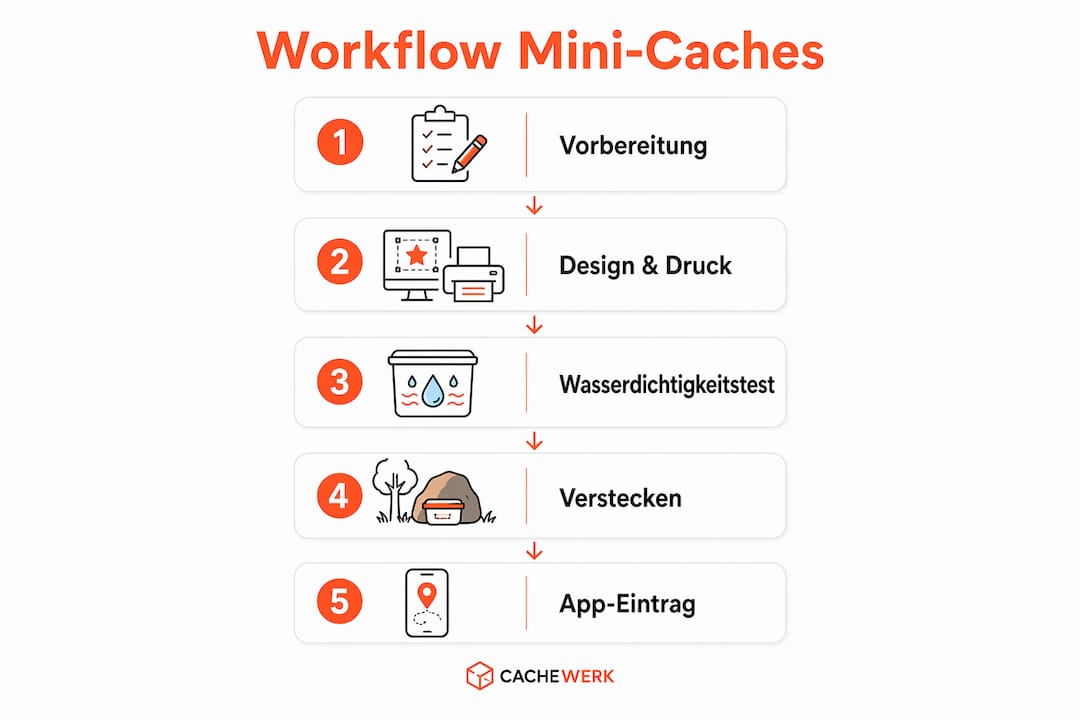
The process of building geocaching mini-hides follows a clear sequence. Adhering to the order avoids common mistakes and saves time.
Step-by-step instructions for your MiniCache
-
Define idea and location. First, consider where and how your cache should be hidden. A mini pseudo-birdhouse with an interior space of approx. 50 by 50 mm for a PETling appears inconspicuous and muggle-proof. Roughly sketch the idea on paper before you start building.
-
Create or download model. Use Tinkercad or FreeCAD for your own designs. For beginners, ready-made STL files from Cults3D or Thingiverse are recommended. Make sure the model has a tight seal and sufficient wall thickness.
-
Optimize 3D printing. Print in PETG or ASA with a layer height of approx. 0.2 mm, at least 2 mm wall thickness, and 5 layers on top and bottom. The printing temperature for PETG is 235 to 245 degrees Celsius. These parameters ensure watertightness without extensive post-processing.
-
Seal and camouflage. After printing, apply weather-resistant acrylic paint. Brown, gray, and moss green are the most effective colors for forest and urban environments. Silicone at the seams also protects against water penetration.
-
Insert logbook and mandatory information. The logbook must be at least 5 by 5 cm. Also include a note with your contact details as the owner. Traditional caches must be clearly recognizable as a Geocache, for example, with a printed label.
-
Place physically. Secure the cache discreetly and securely. Use stainless steel screws for wooden substrates and magnets for metal substrates. Remember: The listing does not reserve a location. The cache must be physically placed on site before you publish the listing.
-
Record coordinates and create listing. Stand directly at the hide and record the coordinates using the Geocaching® App. This minimizes coordinate errors that frustrate finders.
Comparison: Wooden Birdhouse vs. 3D Printed Magnet Box
| Criterion | Mini Pseudo-Birdhouse (Wood) | Magnet Box (ASA Print) |
|---|---|---|
| Construction Time | 1 to 2 hours | 30 to 90 minutes (print time) |
| Costs | 2 to 5 Euros | 1 to 3 Euros (filament) |
| Weather Resistance | Medium (with varnish) | High (ASA UV-stable) |
| Camouflage | Very good (natural) | Good (paint needed) |
| Mounting | Cord or nail | Magnet, immediate adhesion |
| Suitable for | Forest, park | Urban area, metal |
Pro Tip: Always print two copies of your design. The second serves as a spare, should the first cache be damaged or lost. Geocaching ideas for children particularly benefit from robust spare parts, as children sometimes handle caches a bit more vigorously.
Creative DIY Geocaching hiding ideas go far beyond the classic film canister. Once you've started with 3D printing, you'll quickly find your own favorite shapes.
What mistakes should you avoid with miniature objects?
Even experienced geocachers make typical mistakes when building mini-hides. The good news: most can be eliminated with simple tests before publishing.
The most common sources of error
- Lack of watertightness: The most common reason for cache archiving is a soaked logbook. Check every container before hiding it.
- Too conspicuous camouflage: A bright green container in a gray urban environment immediately stands out. Always adapt the color and texture to the immediate surroundings.
- Incorrect size: A nano-cache listed as "Regular" frustrates finders. Choose the cache size in the app to exactly match the physical container.
- Missing mandatory information: No label, no contact details, no readable logbook. These three points lead directly to archiving by the reviewer.
- Poor accessibility: A hide that is only accessible with a ladder but does not have the corresponding attributes generates negative logs.
Tests before publication
Test your cache for at least 24 hours in a water bath before placing it in nature. Long-term tests of 24 hours protect against damp logbook frustration and premature cache archiving.
The muggle test is just as important as the water test. Ask someone who doesn't know the location to observe the area and assess whether the cache stands out. If it does, the camouflage needs to be improved.
Also check accessibility: Can an average adult reach the cache without tools? If not, set the corresponding attributes in the Geocaching® App, for example, "difficult to access" or "climbing required".
Pro Tip: Place a small packet of silica gel inside the container. It binds residual moisture and significantly extends the life of the logbook. Silica gel packets are inexpensive and fit into any nano-cache.
How to best use the Geocaching® App for your mini-cache?
The app workflow is the fastest way to publish a new cache and make it visible. The Geocaching® App from version 10.7.0 offers all the necessary functions directly on your smartphone.
Step-by-step: Create cache in the app
- Open the Geocaching® app and tap "Hide a Cache."
- Select the cache type "Traditional Cache."
- Stand directly at the hide and capture the coordinates via GPS.
- Enter title, description, and difficulty/terrain ratings.
- Select up to 15 attributes that describe your cache.
- Upload a main photo and a spoiler photo.
- Save the listing as a draft and review all information.
- Submit the cache for community review.
Using attributes correctly
| Attribute Category | Examples | Effect on Finders |
|---|---|---|
| Accessibility | Wheelchair accessible, difficult to access | Prevents frustration for unsuitable groups |
| Environment | Urban area, forest, water nearby | Helps with preparation |
| Special Features | Winter-friendly, suitable for night caching | Increases finds during off-peak times |
| Restrictions | No parking, fee required | Avoids negative surprises |
The selection of the right attributes improves finders' preparation and reduces frustration with mini and special cache hides. Specifically, caches with complete attributes generally receive more positive logs and are archived less frequently.
App-based workflows make it easier for beginners to publish caches and offer full control over details and attributes. Use the "save draft" function to calmly revise the listing before it goes to review.
The spoiler photo is an underestimated tool. It shows the reviewer and, if necessary, the finder exactly where the cache is located, without making the hide visible to everyone. A good spoiler photo significantly speeds up the review process.
Pro Tip: Write the cache description as if you were explaining to a friend what to expect. Avoid vague formulations like "well hidden." Concrete hints about the surroundings, without revealing the exact location, make the experience much more pleasant for finders.
A complete Geocaching step-by-step guide helps you to publish even more complex cache types safely.
Key Takeaways
A successful workflow for geocaching miniature objects combines careful material selection, thorough testing, and complete app configuration with appropriate attributes.
| Point | Details |
|---|---|
| Material choice is crucial | PETG and ASA offer the best weather resistance for 3D-printed mini-caches in outdoor areas. |
| Water test is mandatory | Test every container for at least 24 hours in a water bath before placing it in nature. |
| Set attributes completely | Select up to 15 attributes in the Geocaching® App to optimally prepare finders and avoid frustration. |
| Record coordinates on site | Record GPS coordinates directly at the hide, do not estimate them later at your desk. |
| Don't forget mandatory information | Label, contact details, and a readable logbook are basic requirements for any compliant cache. |
My experiences with mini-hides and why quality matters
Over the past few years, I've built, tested, and improved many mini-caches. The honest truth is: most problems don't arise during the hiding process, but during construction. Those who skimp on materials or skip the water test will later pay the price with negative logs and time-consuming maintenance trips.
What truly surprised me: Switching to 3D-printed containers made from PETG significantly improved the quality of my caches. Not because of their appearance, but because of their precision. A perfectly sealing lid keeps water out without me having to rework silicone. That saves time and nerves.
The Geocaching® App's workflow is a real step forward. Previously, I used a separate GPS device to record coordinates and then transferred them to the listing on my computer. Today, I stand directly at the hide, capture everything in one step, and submit the cache for review on the spot. This minimizes coordinate errors.
What I recommend to the community: Exchange ideas. The best ideas for hides don't come from instructions, but from conversations with other geocachers. Once you've found a particularly creative hide, you automatically think bigger when building the next one. And that's what makes geocaching so vibrant.
— Benedikt
Special Hides and Equipment for Your Miniature Objects at Cachewerk
You now have the complete workflow in mind. All that's missing is the right material.
Cachewerk offers a wide selection of special containers and mini-hides for ambitious geocachers. From weatherproof 3D-printed PETG housings to magnetic boxes and urban camouflage solutions for city caches, you'll find everything in one place. For those who want to fully equip their setup, there's also suitable geocaching equipment and tools directly in the shop. Quality that delivers what it promises outdoors.
FAQ
What is a miniature object in geocaching?
A miniature object in geocaching is a cache container with an internal volume of less than 100 ml, which contains at least one logbook. Typical forms include nano caches, magnetic boxes, and small PETling tubes.
What material is best for mini caches?
PETG and ASA are the best materials for 3D-printed mini caches because they are weather-resistant and durable. For handmade hides, wood with weather protection varnish is a cost-effective alternative.
How do I test if my mini cache is waterproof?
Place the sealed container with a piece of paper inside in water for at least 24 hours. If the paper is dry afterward, the cache is waterproof and ready for outdoor use.
How many attributes can I set in the Geocaching® app?
You can select up to 15 attributes per cache. Attributes such as “winter friendly,” “difficult access,” or “urban area” help finders prepare optimally and reduce negative experiences.
Do I have to physically place the cache before publishing the listing?
Yes. The listing in the Geocaching® app does not reserve a location. The physical cache must be placed on-site before you submit the listing for community review.