
Geocaching Höhenprofile verstehen: der Praxis-Guide
Ein Höhenprofil ist die grafische Darstellung aller Höhenänderungen entlang einer Route. Beim Geocaching zeigt es dir auf einen Blick, wo ein Anstieg beginnt, wie steil er wird und wo das Gelände wieder flacher wird. Wer geocaching höhenprofile verstehen will, braucht mehr als nur einen Blick auf die Kurve: Er muss wissen, wie die Daten entstehen, wo sie lügen und wie er sie für eine realistische Tourenplanung einsetzt. Gerade bei anspruchsvollen Touren mit mehreren Caches in bergigem Gelände kann dieses Wissen den Unterschied zwischen einer gelungenen Tour und einem Abbruch ausmachen. Die Terrainbewertung eines Caches und sein Höhenprofil gehören immer zusammen.
Wie werden Höhenprofile beim Geocaching gemessen?
Drei Messprinzipien bestimmen, wie dein Gerät die Höhe ermittelt. Jedes hat klare Stärken und konkrete Schwächen, die du kennen solltest, bevor du einer Zahl vertraust.
GPS-basierte Höhenmessung berechnet die Höhe aus den Signalen mehrerer Satelliten. Das klingt präzise, ist es aber oft nicht. GPS misst horizontale Positionen sehr gut, die vertikale Achse ist jedoch deutlich fehleranfälliger. In engen Tälern, unter dichtem Baumbestand oder in Häuserschluchten kann die Abweichung leicht 20–50 Meter betragen.
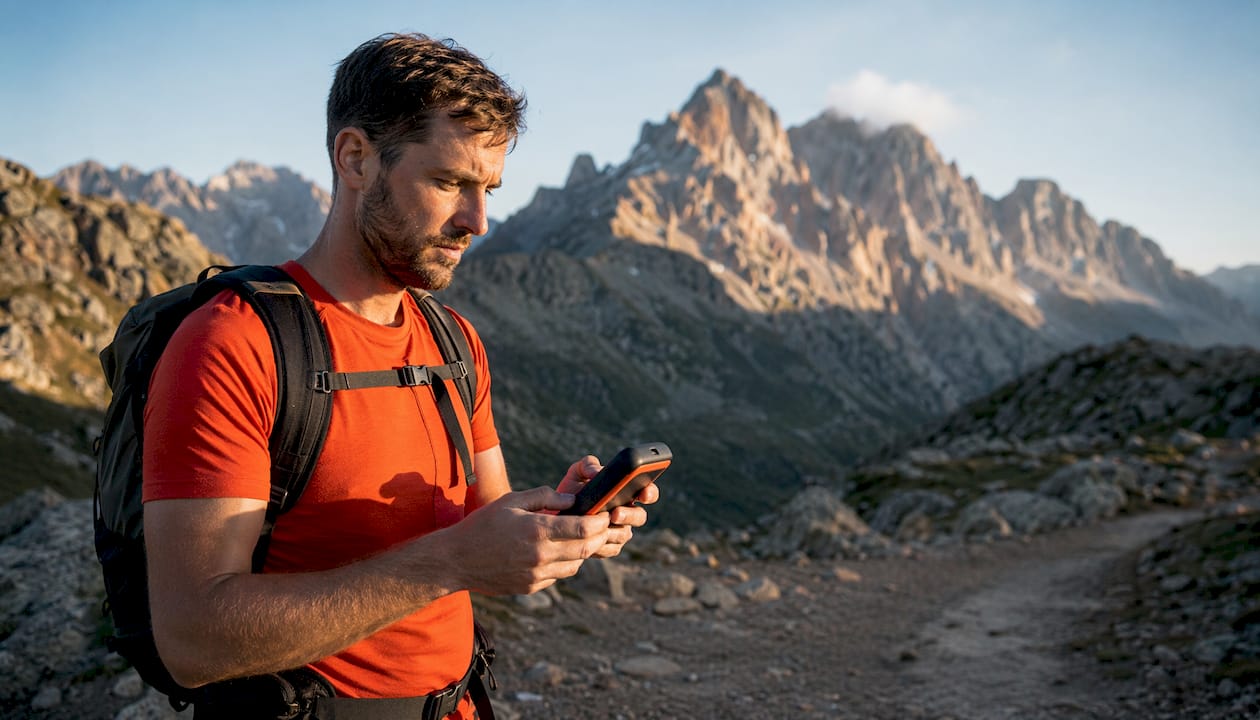
Barometrische Höhenmessung nutzt den Luftdruck, der mit zunehmender Höhe abnimmt. Barometrische Messung liefert stabilere Kurven als reines GPS, reagiert aber auf Wetteränderungen. Ein aufziehendes Gewitter kann den Luftdruck so stark verändern, dass dein Gerät einen Höhenanstieg anzeigt, obwohl du auf ebenem Boden stehst.
Hybride Systeme kombinieren GPS und Barometer. Sie gleichen die Schwächen beider Methoden teilweise aus und gelten als beste Praxis für Outdoor-Aktivitäten. Trotzdem bleiben sie wetterabhängig und müssen regelmäßig kalibriert werden.
- GPS allein: gut für horizontale Position, unzuverlässig bei Höhe
- Barometer allein: stabile Kurven, aber wetterempfindlich
- Hybrid (GPS + Barometer): höchste Genauigkeit, erfordert Kalibrierung
- Topografische Karten: unverzichtbare Ergänzung zur digitalen Messung
Profi-Tipp: Kalibriere dein Gerät immer zu Tourbeginn an einem bekannten Referenzpunkt, zum Beispiel einem Vermessungspunkt mit angegebener Höhe. Eine regelmäßige Kalibrierung verbessert die Messgenauigkeit deutlich, besonders nach einem Wetterwechsel.
Welche Fehlerquellen können bei Höhenprofilen auftreten?
Die Summe der Höhenmeter ist selten ein exakter Wert. Sie ist eine Schätzung mit eingebautem Rauschen.
Messrauschen summiert sich über die gesamte Streckenlänge. Jede kleine Schwankung von einem Meter wird addiert, und am Ende steht eine Gesamtzahl, die deutlich höher ist als die tatsächlich überwundene Höhendifferenz. Das ist kein Fehler des Geräts, sondern ein mathematisches Grundproblem jeder kontinuierlichen Messung.
„Die absolute Summe der Höhenmeter ist oft ein statistisches Artefakt. Reale Planung basiert auf dem relativen Profil: Wo ist das Gelände steil, wo flach?" Das bedeutet: Vertrau der Form der Kurve mehr als der Zahl am Ende.
Weitere typische Fehlerquellen:
- Luftdruckschwankungen durch Wetter: Ein Druckabfall von 1 Hektopascal entspricht etwa 8 Metern Höhenunterschied.
- GPS-Abschattung in Tälern: Wenige sichtbare Satelliten erzeugen sprunghafte Höhenwerte.
- Digitale Geländemodelle mit Sprüngen: Manche Apps berechnen Höhen aus Geländedatenbanken statt aus Echtzeitmessung. Digitale Geländemodelle erzeugen dabei charakteristische Sprünge im Profil.
- Fehlende Glättung: Rohe GPS-Daten ohne Glättungsalgorithmus sehen aus wie eine Zackenlinie, selbst auf flachem Boden.
Absolute Höhenmeter-Zahlen solltest du daher nie als Fakten behandeln. Sie sind Orientierungswerte.
Wie liest und interpretiert man ein Höhenprofil richtig?
Ein Höhenprofil richtig zu lesen bedeutet, die Form der Kurve zu verstehen, nicht die Zahl darunter.
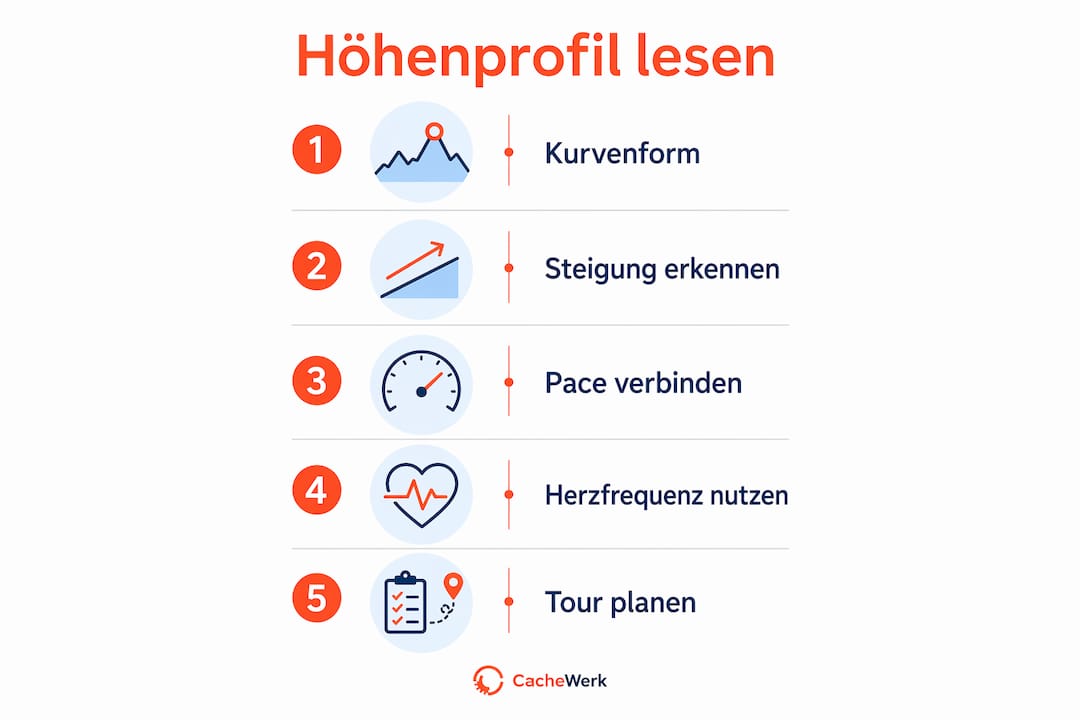
Steigungsabschnitte erkennen und einschätzen
Steile Abschnitte im Profil sind kurze, fast senkrechte Anstiege. Flache Passagen zeigen sich als nahezu waagerechte Linien. Höhendiagramme zeigen Belastung durch stetiges Steigen und markieren schwierige Passagen durch besonders steile Abschnitte. Für die Geocaching-Routenplanung bedeutet das: Plane deine Pausen immer vor einem langen Anstieg, nicht mittendrin.
Höhenprofil mit Pace und Herzfrequenz verbinden
Ein Höhenprofil allein sagt wenig über deine tatsächliche Belastung. Erst in Kombination mit Herzfrequenz und Pace entsteht ein vollständiges Bild. Höhenprofil, Herzfrequenz und Pace zusammen ermöglichen gezieltes Belastungsmanagement bei anspruchsvollen Außentouren. Moderne Tools wie der GPX-Pacerechner nutzen dafür die Minetti-Formel, die den Energieverbrauch auf Basis des Höhenprofils berechnet.
Nullhöhenskalierung für flaches Gelände
Bei flachen Touren zeigt das Profil oft eine fast gerade Linie, obwohl du spürbare Steigungen überwindest. Die Nullhöhenskalierung löst dieses Problem: Sie skaliert die Y-Achse so, dass auch kleine Höhenunterschiede sichtbar werden. Das ist besonders nützlich für Geocaching-Touren im Flachland oder in urbanen Gebieten.
So gehst du bei der Analyse vor:
- Öffne das Höhenprofil deiner geplanten Route in deiner App.
- Identifiziere die drei steilsten Abschnitte und notiere ihre Position auf der Strecke.
- Plane Pausen 10–15 Minuten vor jedem langen Anstieg.
- Prüfe, ob das Profil geglättet oder roh dargestellt wird, und wähle die geglättete Ansicht für die Planung.
- Vergleiche das digitale Profil mit einer topografischen Karte, um grobe Fehler zu erkennen.
| Profilmerkmal | Bedeutung für die Tour |
|---|---|
| Kurzer, steiler Anstieg | Hohe Belastung für kurze Zeit, Kraftreserven einplanen |
| Langer, gleichmäßiger Anstieg | Ausdauerbelastung, Pace reduzieren |
| Flaches Plateau nach Anstieg | Ideale Pausenposition |
| Viele kleine Auf und Abs | Hohes Gesamtvolumen, unterschätzte Erschöpfung |
Profi-Tipp: Schau dir das Profil immer von rechts nach links an, also rückwärts. So erkennst du, ob der Rückweg schwerer ist als der Hinweg. Viele Geocacher planen nur die Hinroute und unterschätzen den Abstieg.
Welche Geräte und Apps eignen sich für die Höhenprofil-Analyse?
Die Wahl des richtigen Geräts beeinflusst direkt, wie verlässlich dein Höhenprofil ist.
Smartwatches mit barometrischem Höhenmesser liefern gute Ergebnisse im Alltag. Bei langen Touren in wechselhaftem Wetter driften sie aber ohne Nachkalibrierung ab. Ihr Vorteil: Sie sind immer am Handgelenk und zeichnen automatisch auf.
Dedizierte GPS-Geräte für den Outdoor-Bereich bieten in der Regel genauere Höhenmessung als Smartphones, weil sie bessere Antennen und oft einen präziseren Barometer einbauen. Ihr Nachteil ist das Gewicht und der Preis.
Smartphones sind die häufigste Wahl. Ihre GPS-Genauigkeit hat sich in den letzten Jahren verbessert, aber viele Modelle haben keinen Barometer. Ohne Barometer ist die Höhenmessung deutlich unzuverlässiger.
- Smartwatch mit Barometer: gut für kurze bis mittlere Touren
- Dediziertes GPS-Gerät: beste Hardwaregenauigkeit, höheres Gewicht
- Smartphone ohne Barometer: nur für flaches Gelände geeignet
- Smartphone mit Barometer: brauchbar, wenn regelmäßig kalibriert
Apps wie Komoot, Strava und Outdooractive bieten detaillierte Höhenprofile und ermöglichen Offline-Zugriff in abgelegenen Gebieten. Alle drei erlauben Kalibrierung und lokale Datenspeicherung. Regelmäßige Firmware-Updates verbessern die Höhenberechnung und beheben Messfehler in komplexem Gelände. Wer seine App seit Monaten nicht aktualisiert hat, arbeitet möglicherweise mit veralteten Algorithmen.
Nutze in deiner App immer die Glättungsfunktion für das Höhenprofil. Rohe GPS-Daten erzeugen Zacken, die keine echten Steigungen darstellen. App-basierte Höhenprofile werden mit Algorithmen geglättet, um Messrauschen auszuschließen und praxisgerechte Daten zu liefern.
Praxisbeispiele: Höhenprofile in verschiedenen Outdoor-Szenarien
Höhenprofile lesen ist eine Fähigkeit. Sie wird besser, wenn du sie in konkreten Situationen anwendest.
Bergwanderungen mit mehreren Caches: Teile die Route anhand des Profils in Etappen. Ein Cache auf einem Gipfel nach einem langen Anstieg braucht mehr Zeitpuffer als ein Cache auf einem Plateau. Plane den Abstieg als eigene Etappe, denn Abstiege belasten Knie und Muskeln anders als Anstiege.
Mountainbiking: Das Höhenprofil zeigt dir, wo du Kraft sparst und wo du schieben musst. Kurze, sehr steile Abschnitte im Profil sind oft nicht fahrbar. Erkenne sie vorher und plane entsprechend.
Trailrunning: Hier ist das Profil ein Trainingstool. Intervalle auf Anstiegen lassen sich direkt aus dem Profil ableiten. Ein Abschnitt mit 80 Höhenmetern auf 500 Metern Länge entspricht einer Steigung von 16 %, was für Intervalltraining gut geeignet ist.
Wintertouren: Schnee verändert das Gelände, aber nicht das Höhenprofil. Nutze das Profil, um Lawinenhänge zu identifizieren. Steile Abschnitte über 30 Grad Neigung sind im Profil klar erkennbar und sollten im Winter gemieden werden.
- Bergwanderung: Etappenplanung und Pausenpositionen aus dem Profil ableiten
- Mountainbiking: Schiebepunkte vorab erkennen
- Trailrunning: Steigungsgrade für Intervalltraining nutzen
- Wintertouren: Neigungswinkel zur Lawinenbeurteilung einsetzen
Wichtige Erkenntnisse
Das Höhenprofil ist kein exakter Messwert, sondern ein Planungswerkzeug: Wer seine Form liest statt nur die Zahlen, plant sicherer und kommt besser ans Ziel.
| Thema | Details |
|---|---|
| Messmethoden verstehen | Hybride Geräte mit GPS und Barometer liefern die verlässlichsten Höhenprofile für anspruchsvolles Gelände. |
| Fehlerquellen kennen | Messrauschen und Wettereinflüsse verfälschen absolute Höhenmeter; die Profilform ist verlässlicher als die Gesamtzahl. |
| Profil richtig lesen | Steile Abschnitte vor Pausen einplanen und Nullhöhenskalierung für flaches Gelände aktivieren. |
| Geräte und Apps wählen | Apps wie Komoot, Strava oder Outdooractive mit aktivierter Glättung und aktuellem Firmware-Stand verwenden. |
| Kalibrierung nicht vergessen | Gerät zu Tourbeginn und nach Wetterwechseln an bekannten Referenzpunkten kalibrieren. |
Was ich nach hunderten Touren über Höhenprofile gelernt habe
Ich habe lange Zeit den absoluten Höhenmeter-Zahlen vertraut. Das war ein Fehler. Mein GPS hat mir auf einer Tour im Schwarzwald 1.400 Höhenmeter angezeigt. Die topografische Karte hat danach 980 ergeben. Der Unterschied kam aus Messrauschen und einem Wetterdruckabfall am Nachmittag. Seitdem schaue ich zuerst auf die Form des Profils und erst danach auf die Zahl.
Der häufigste Fehler, den ich bei anderen Cachern beobachte: Sie lesen das Profil nur von links nach rechts und vergessen den Rückweg. Gerade bei Touren mit einem Cache am Gipfel ist der Abstieg oft anspruchsvoller als der Aufstieg, weil die Muskeln schon ermüdet sind. Das Profil zeigt dir das, wenn du es rückwärts liest.
Mein zweiter Tipp aus eigener Erfahrung: Kalibriere dein Gerät nicht nur zu Tourbeginn, sondern auch nach längeren Pausen. Wer zwei Stunden auf einer Berghütte sitzt, während sich das Wetter ändert, hat danach ein Gerät mit falschem Nullpunkt. Das verfälscht alle weiteren Höhenwerte der Tour.
Höhenprofile sind kein Selbstzweck. Sie sind ein Werkzeug, das dir hilft, Caches zu finden, ohne dich zu überfordern. Wer sie richtig liest, kommt nicht nur sicherer ans Ziel, sondern hat auch mehr Spaß dabei.
— Benedikt
Cachewerk: Ausrüstung für deine nächste Tour
Wer anspruchsvolle Geocaching-Touren plant, braucht nicht nur gute Höhenprofil-Kenntnisse, sondern auch zuverlässige Verstecke für unterwegs. Cachewerk bietet dafür speziell entwickelte Lösungen aus dem 3D-Druck.
Das Pfostenversteck für Schilderpfosten passt auf Pfosten mit 60 mm Durchmesser und ist aus witterungsbeständigem PETG gedruckt. Für Touren in bergigem Gelände eignet sich das Vermessungspunkt-Versteck mit PETling und Bodenhülse besonders gut, weil es sich an realen Geländepunkten tarnt. Und wer seine Leidenschaft auch auf dem T-Shirt trägt, findet bei Cachewerk das Cache Hunter Shirt für Outdoor-Abenteurer.
FAQ
Was ist ein Höhenprofil beim Geocaching?
Ein Höhenprofil zeigt die Höhenänderungen einer Route als Kurve: Die X-Achse ist die Streckenlänge, die Y-Achse die Höhe. Es hilft dir, Anstiege, Abstiege und flache Abschnitte vor der Tour zu erkennen.
Warum weichen angezeigte Höhenmeter oft von der Realität ab?
Messrauschen, Luftdruckschwankungen und GPS-Abschattung summieren sich über die gesamte Strecke. Die angezeigte Höhenmeter-Summe ist daher eine Schätzung, kein exakter Wert.
Welche App eignet sich am besten für Höhenprofile beim Geocaching?
Komoot, Strava und Outdooractive bieten alle detaillierte Höhenprofile mit Glättungsfunktion und Offline-Zugriff. Entscheidend ist, dass die App regelmäßig aktualisiert wird und dein Gerät einen Barometer hat.
Wie oft sollte ich mein GPS-Gerät kalibrieren?
Kalibriere zu Tourbeginn an einem bekannten Referenzpunkt und nach jedem deutlichen Wetterwechsel. Eine regelmäßige Kalibrierung ist für aussagekräftige Höhenwerte unerlässlich.
Was bedeutet Nullhöhenskalierung im Höhenprofil?
Nullhöhenskalierung skaliert die Y-Achse so, dass sie bei null beginnt. Das macht kleine Steigungen auf flachen Touren sichtbar, die sonst als gerade Linie erscheinen würden.