
Geocaching und Radfahren erklärt: Dein Praxisguide
Geocaching ist eine GPS-gestützte Schatzsuche, bei der du mit Koordinaten versteckte Behälter, sogenannte Caches, in der freien Natur oder in Städten findest. Kombiniert mit dem Fahrrad entsteht daraus eine der abwechslungsreichsten Outdoor-Aktivitäten überhaupt. Geocaching und Radfahren erklärt bedeutet: du planst eine Route, packst dein GPS-Gerät oder Smartphone ein und suchst unterwegs nach Verstecken. Die reale Tourstrecke ist dabei oft 20 % bis 40 % länger als die reine Radstrecke. Das macht die Planung spannend und die Tour deutlich erlebnisreicher.
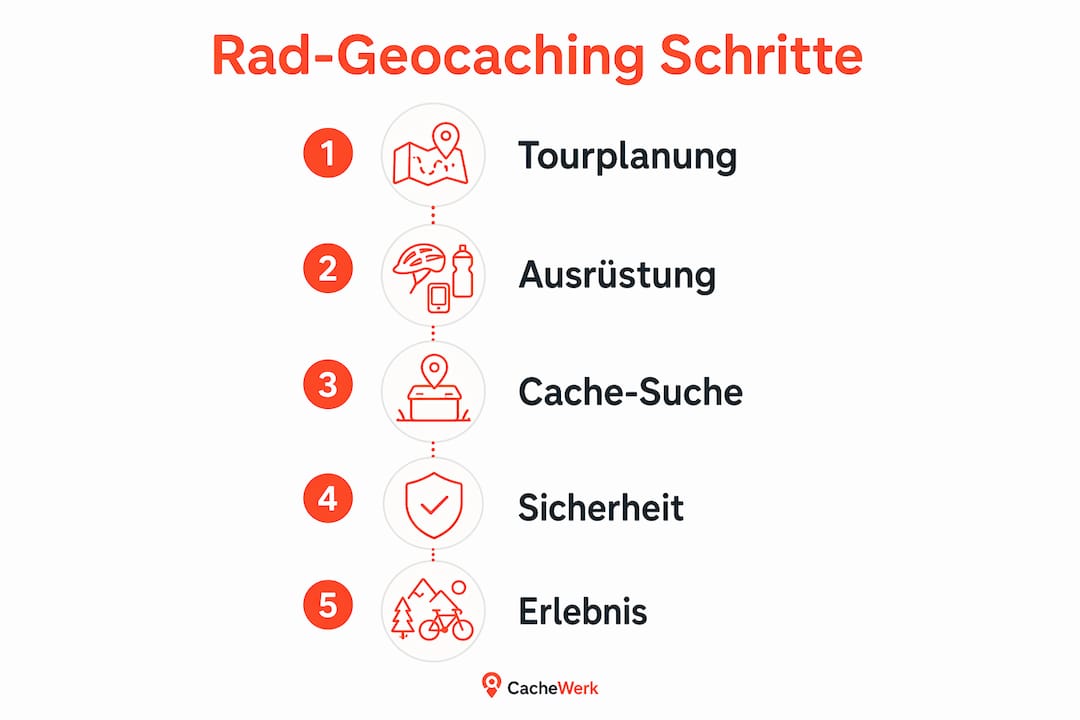
Wie funktioniert Geocaching beim Radfahren?
Geocaching mit dem Fahrrad folgt demselben Grundprinzip wie jede andere Form der Schatzsuche: Du bekommst GPS-Koordinaten, fährst zum angegebenen Punkt und suchst dort nach einem versteckten Behälter. Der Unterschied zum Wandern liegt im Tempo und in der Reichweite. Mit dem Rad schaffst du in zwei Stunden eine Strecke, für die ein Wanderer einen halben Tag braucht.
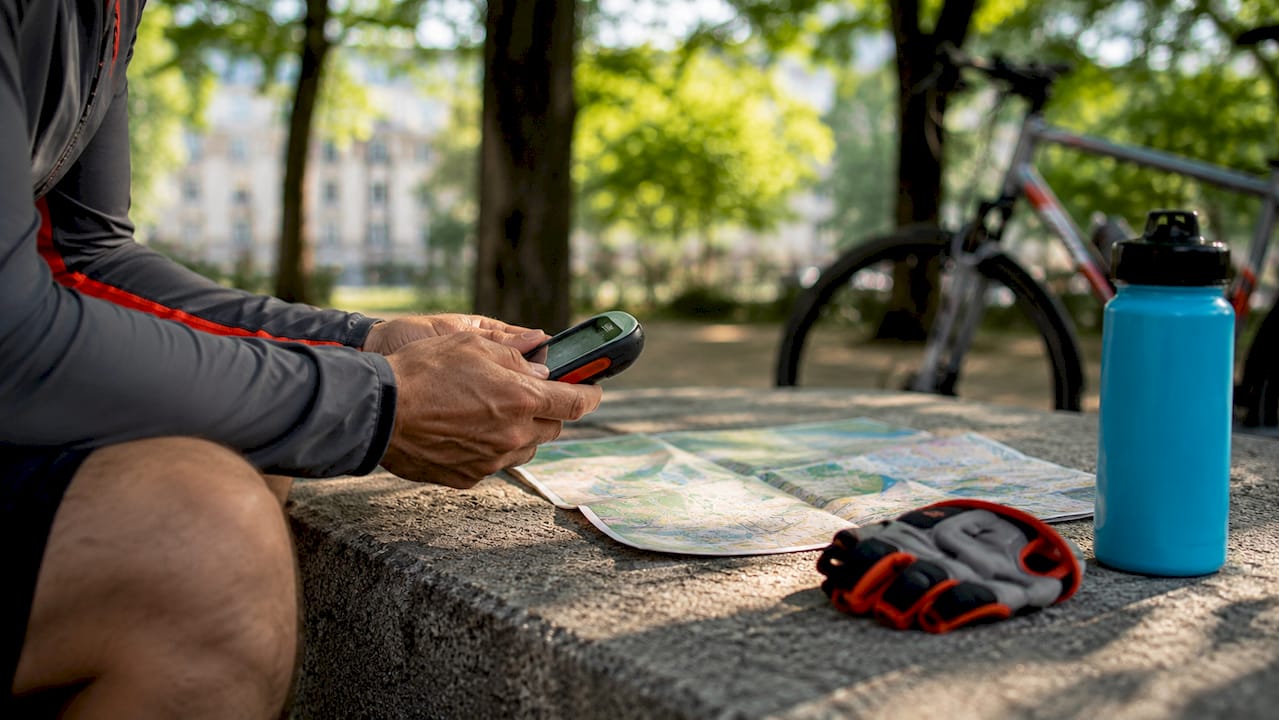
GPS-Geräte liefern typischerweise eine Zielgenauigkeit von 10 bis 20 Metern. Das bedeutet: Die letzten Meter zur Dose musst du selbst suchen, mit Augen und Erfahrung, nicht mit Technik.
Beim Rad-Geocaching unterscheidet man vor allem zwei Cache-Typen:
- Traditionelle Caches: Ein Koordinatenpunkt, ein Versteck. Ideal für Einsteiger und schnelle Stopps auf der Route.
- Multicaches: Mehrere Stationen, die nacheinander angefahren werden. Der Multicache „Bikeport" bei Gießen umfasst beispielsweise 28 Stationen, davon 18 im Wald und 10 am Startpunkt. Solche Touren erfordern echte Planung.
Eine typische Rad-Geocaching-Tour sieht so aus: Du startest an einem Parkplatz oder Bahnhof, fährst eine geplante Basisroute und machst an jedem Cache-Standort kurz Halt. Manche Stopps dauern zwei Minuten, andere zehn. Genau das macht den Reiz aus.
Profi-Tipp: Lade alle Cache-Koordinaten vor dem Start offline herunter. Mobilfunkempfang ist auf Waldwegen und in Tälern oft schlecht, und du willst nicht mitten in der Tour ohne Daten dastehen.
Welche Ausrüstung brauche ich für Rad-Geocaching?
Die richtige Ausrüstung entscheidet darüber, ob deine Tour Spaß macht oder zur Geduldsprobe wird. Du brauchst kein teures Equipment, aber ein paar Dinge sind unverzichtbar.
GPS und Smartphone
Ein dediziertes GPS-Gerät ist robuster und hat eine längere Akkulaufzeit als ein Smartphone. Für Einsteiger reicht aber ein Smartphone mit einer Geocaching-App völlig aus. Das Problem: Smartphones entladen sich bei aktivem GPS und Display schnell. Eine Powerbank mit mindestens 10.000 mAh gehört deshalb in jeden Rucksack. Wer GPS beim Geocaching wirklich beherrschen will, sollte sich zusätzlich mit den Cachebeschreibungen vertraut machen, nicht nur mit den Koordinaten.
Praktische Ausrüstung für den Cache-Fund
- Pinzette und Kugelschreiber: Viele Nano-Caches haben winzige Logbücher. Ohne Stift kein Eintrag.
- Handschuhe: Caches stecken manchmal unter Steinen oder in Baumhöhlen. Handschuhe schützen und helfen beim Greifen.
- Kleiner Rucksack: Leicht, wasserdicht, mit Platz für Werkzeug, Snacks und Regenkleidung.
- Wetterfeste Kleidung: Touren dauern länger als geplant. Ein Regenponcho wiegt nichts und rettet den Tag.
Für den Fahrradlenker empfiehlt sich eine Halterung für das Smartphone oder GPS-Gerät. So hast du die Karte immer im Blick, ohne anhalten zu müssen.
Profi-Tipp: Stecke einen kleinen Ersatzstift und ein Logbuch-Ersatzblatt in deine Satteltasche. Du wirst irgendwann einen Cache finden, dessen Logbuch voll oder durchnässt ist. Dann bist du der Held der Tour.
Wie planst du eine erfolgreiche Geocaching-Radtour?
Gute Planung ist der Unterschied zwischen einer entspannten Tour und einer frustrierenden Suche. Der wichtigste Faktor: Rechne immer mit Mehrstrecke.
Cache-Abstecher verlängern die geplante Route um 20 % bis 40 %. Eine Basisstrecke von 28 km kann so schnell zu einer realen Strecke von rund 40 km werden. Das ist kein Problem, wenn du es einplanst. Es wird zum Problem, wenn du es ignorierst.
So gehst du die Planung an:
- Basisroute festlegen: Wähle offizielle Radwege oder gut ausgebaute Forstwege. Sie sind sicherer und meist auch cachefreundlicher.
- Caches vorab filtern: Suche nach Caches mit dem Attribut „mit dem Fahrrad erreichbar". Nicht jeder Cache liegt direkt am Radweg.
- Mehrstrecke einkalkulieren: Plane für jeden Cache-Stopp zusätzlich 500 m bis 1 km ein, je nach Geländetyp.
- Schwierige Passagen prüfen: Manche Cache-Standorte sind nur zu Fuß erreichbar. Kläre vorab, ob du dein Rad abstellen kannst.
- Puffer einbauen: Plane nie bis zur letzten Minute. Unerwartete Funde, Pausen und Umwege gehören dazu.
| Faktor | Empfehlung |
|---|---|
| Basisstrecke | Maximal 25–30 km für Halbtagestouren |
| Mehrstrecke durch Caches | 20–40 % aufschlagen |
| Caches pro Tour | 5–10 für Erfahrene, 3–5 für Einsteiger |
| Tourdauer | 2–4 Stunden realistisch einplanen |
| Geländetyp | Asphalt oder fester Untergrund bevorzugen |
Bei der Routenplanung ist eine genaue Prüfung der Wegführung unverzichtbar, da Radwege nicht immer direkt zu Caches führen. Wer das ignoriert, schiebt sein Rad irgendwann durch Gestrüpp.
Für Inspiration zu kombinierten Outdoor-Touren lohnt sich auch ein Blick auf den Praxisguide Geocaching und Wandern, der viele Planungsprinzipien teilt.
Welche Sicherheitsregeln gelten beim Rad-Geocaching?
Sicherheit beim Rad-Geocaching bedeutet mehr als nur Helm tragen. Es geht auch um den Schutz der Caches und den respektvollen Umgang mit anderen Menschen.
- Helm immer: Klingt selbstverständlich, wird aber auf Freizeittouren oft vergessen.
- Verkehrsregeln beachten: Auch auf Geocaching-Touren gilt die Straßenverkehrsordnung. In Fußgängerzonen ist Radfahren eingeschränkt und Cache-Suchen bei Menschenmengen wird schwierig.
- Muggles meiden: Als Muggles bezeichnet die Geocaching-Community Nicht-Cacher. Wer einen Cache vor Zuschauern öffnet, riskiert, dass das Versteck gemeldet oder zerstört wird. Diskrete Zeiten und Orte wählen ist deshalb keine Faustregel, sondern Pflicht.
- Natur schützen: Caches liegen manchmal in empfindlichen Bereichen. Bleib auf Wegen, tritt keine Pflanzen nieder und hinterlasse den Standort so, wie du ihn vorgefunden hast.
- Rad sichern: Schließe dein Fahrrad immer ab, wenn du es für eine Suche abstellen musst. Auch kurze Stopps reichen für Diebstahl.
Profi-Tipp: Suche Caches in stark frequentierten Bereichen früh morgens oder am späten Nachmittag. Dann sind weniger Menschen unterwegs, und du kannst entspannt suchen, ohne Aufmerksamkeit zu erregen.
Wer mehr über kreative Geocaching-Verstecke und den sicheren Umgang mit Cache-Standorten erfahren möchte, findet bei Cachewerk praktische Tipps dazu.
Wie erlebst du Geocaching und Radfahren mit der ganzen Familie?
Geocaching mit Kindern auf dem Fahrrad funktioniert, wenn du die Tour an das langsamste Mitglied anpasst. Das klingt simpel, wird aber oft unterschätzt.
Für Familien sind 3 bis 5 Funde pro Ausflug ideal, bei einer Tourdauer von 1 bis 2 Stunden. Mehr Caches bedeuten mehr Frust, wenn Kinder müde werden. Weniger Caches bedeuten weniger Erfolgserlebnisse. Diese Spanne trifft den richtigen Mittelweg.
Tipps für familienfreundliche Rad-Geocaching-Touren:
- Leichte Cache-Typen wählen: Traditionelle Caches mit Schwierigkeitsgrad 1 oder 2 sind für Kinder am besten geeignet. Keine langen Multicaches beim ersten Mal.
- Pausen einplanen: Kinder brauchen Pausen, auch wenn sie das nicht zugeben. Plane alle 30–45 Minuten einen kurzen Stopp ein.
- Kinder aktiv einbeziehen: Lass Kinder das GPS halten und die letzten Meter selbst suchen. Das ist der Moment, für den sie die ganze Tour mitgemacht haben.
- Belohnung nicht vergessen: Ein kleines Tauschgeschenk im Rucksack motiviert enorm. Viele Caches enthalten Tauschgegenstände, aber nicht alle.
- Sicherheit für Kinder: Kindersitze oder Anhänger für kleine Kinder, Helmpflicht für alle, und niemals Kinder allein an Straßen suchen lassen.
Multicaches sind für Familien mit erfahreneren Kindern ab etwa 8 Jahren spannend. Die Stationen halten die Spannung aufrecht und machen aus einer Radtour eine echte Schatzsuche mit Geschichte. Für erste Familientouren empfiehlt sich aber ein einfacher traditioneller Cache, der direkt am Radweg liegt.
Wichtige Erkenntnisse
Rad-Geocaching gelingt, wenn du Mehrstrecke einplanst, die richtige Ausrüstung dabei hast und Sicherheitsregeln konsequent befolgst.
| Thema | Details |
|---|---|
| Streckenmehrung durch Caches | Plane 20–40 % mehr Strecke als die reine Basisroute ein |
| GPS-Genauigkeit verstehen | GPS zeigt nur 10–20 m Genauigkeit; die letzten Meter erfordern Beobachtung |
| Ideale Fundanzahl | 3–5 Caches pro Tour sind für Einsteiger und Familien der richtige Einstieg |
| Muggles und Diskretion | Diskrete Zeiten und Orte schützen Caches und das Sucherlebnis |
| Familientouren anpassen | Kurze Touren mit 1–2 Stunden Dauer und leichten Caches halten Kinder motiviert |
Was ich nach Jahren Rad-Geocaching wirklich gelernt habe
Ich erinnere mich noch gut an meine erste Rad-Geocaching-Tour. Ich hatte eine 20-km-Route geplant, bin am Ende 34 km gefahren und habe trotzdem zwei Caches nicht gefunden. Nicht weil ich schlecht gesucht habe, sondern weil ich zu sehr auf das GPS gestarrt habe.
Erfahrene Cacher verlassen sich nicht blind auf GPS-Daten, sondern prüfen die Umgebung aufmerksam und achten auf Hinweise in der Cachebeschreibung. Das ist der Unterschied zwischen einem Fund und einem DNF. Wer das früh versteht, spart sich viel Frust.
Was mich wirklich überrascht hat: Rad-Geocaching verändert, wie du Landschaften wahrnimmst. Du fährst nicht mehr einfach durch einen Wald. Du schaust, beobachtest, fragst dich, wo sich ein Versteck verstecken könnte. Das macht selbst bekannte Strecken neu.
Mein ehrlicher Rat für Einsteiger: Starte mit einer kurzen Route und wenigen Caches. Nicht weil es leichter ist, sondern weil du so lernst, wie sich GPS-Abweichungen anfühlen, wie Caches versteckt werden und wie du diskret suchst. Wer gleich mit einem 28-Stationen-Multicache anfängt, verliert schnell die Freude.
Und noch etwas: Die Community ist wirklich gut. Auf Events und bei gemeinsamen Touren lernst du mehr in einem Nachmittag als durch stundenlange Recherche. Geh hin.
— Benedikt
Cachewerk: Ausrüstung für deine nächste Rad-Geocaching-Tour
Wer ernsthaft mit dem Rad-Geocaching anfangen will, braucht die richtige Ausrüstung vom ersten Tag an.
Bei Cachewerk findest du alles, was du für deine Touren brauchst. Das Geocaching-Starter-Bundle 2 mit PETling, Logbuch und Aufhängung ist der perfekte Einstieg für neue Rad-Cacher. Wer ausgefallene Verstecke legen möchte, sollte sich den Rusty Bolt Cache ansehen, einen täuschend echten rostigen Schraubbolzen mit Nano-Behälter, ideal für urbane Stopps auf der Radroute. Und wer seine Leidenschaft auch optisch zeigen will, findet mit dem Cache Hunter T-Shirt das passende Outfit für jede Tour.
FAQ
Was ist Geocaching beim Radfahren?
Geocaching beim Radfahren bedeutet, GPS-Koordinaten mit dem Fahrrad anzufahren und an den angegebenen Punkten versteckte Behälter zu suchen. Es verbindet Sport mit Schatzsuche und macht bekannte Strecken neu.
Wie viel länger wird meine Route durch Cache-Stopps?
Cache-Abstecher verlängern die geplante Strecke typischerweise um 20 % bis 40 %. Eine 28-km-Tour kann so schnell auf rund 40 km anwachsen.
Welche App oder welches Gerät brauche ich für Rad-Geocaching?
Ein Smartphone mit einer Geocaching-App reicht für den Einstieg völlig aus. Wichtig ist eine Powerbank, da GPS den Akku schnell leert. Dedizierte GPS-Geräte sind robuster und haben längere Laufzeiten.
Wie viele Caches sollte ich pro Tour einplanen?
Für Einsteiger und Familien sind 3 bis 5 Caches pro Tour ideal, bei einer Dauer von 1 bis 2 Stunden. Das hält die Motivation hoch und vermeidet Überforderung.
Was sind Muggles und warum sind sie beim Geocaching relevant?
Muggles sind Nicht-Cacher, also Menschen, die nichts von Geocaching wissen. Wer einen Cache in ihrer Anwesenheit öffnet, riskiert, dass das Versteck entdeckt, gemeldet oder beschädigt wird. Diskrete Suche schützt den Cache für alle.