
Secure Cache: Step-by-Step Guide to a Safe Cache Installation
The safest approach is clear: build several small, well-camouflaged hideouts, seal them waterproof, and mechanically harden them. No single large hideout will last as long as three small, distributed ones. Here are the immediate core steps:
Immediate Measures:
- Check sightlines from windows, paths, and entrances
- Apply moisture protection (silicone sealant, insert desiccant)
- Test magnetic opening and fix magnets with epoxy resin
- Tell no one about the hideout's existence
- Clarify property rights and communal rules in advance
Quick Risk Warnings:
- No hideout on someone else's property without permission
- No permanent alterations to public property
- Secrecy is more crucial than any technical measure
Table of Contents
- What legal and safety aspects do you need to consider before construction?
- How do you choose the right location?
- What materials and tools do you need in Germany?
- Securing a hideout step-by-step: From planning to testing
- How do you protect your hideout against theft and manipulation?
- How often and how do you maintain your hideout?
- Three example builds: Urban, forest, and workshop
- Key Takeaways
- Why this method really works
- Cachewerk products for your next hideout
- Further Resources
What legal and safety aspects do you need to consider before construction?
Before you even pick up a drill, clarify these points. In Germany, clear rules apply to hideouts in public and private spaces.
Legal Obligations:
- Check property rights: Hideouts only on your own property or with the express permission of the owner
- Obtain communal special use permits if public areas are affected
- No permanent alterations to trees, walls, or infrastructure
- For permanently installed elements: Check insurance coverage (household contents, liability)
Pre-construction Safety Checklist:
- Check static load and bearing capacity of the installation site
- Locate electrical wires and water pipes with a line detector
- Document photos and dimensions of the site
- Assess muggle visibility: Who walks by and when?
Ethics for Geocachers: No cache should endanger third parties or damage the environment. Adhere to Geocaching.com's geocaching guidelines and inquire with the relevant municipality if you are unsure.
How do you choose the right location?
Location selection is the most important decision of all. A poorly chosen spot makes any technical security worthless.
Before placement, analyze:
- Sightlines from windows, patio doors, and footpaths
- Work processes nearby (delivery services, cleaning personnel)
- Seasonal changes: In winter, a hideout under leaves suddenly stands out
- Avoid known bad hideouts: Bedrooms, kitchens, and picture frames are routinely checked first
Redundancy instead of a single solution: Distribute logbooks and contents among several small hideouts. If one fails, the cache remains playable. The distribution principle also applies to geocaching contents: never everything in one place.
Pro-Tip: Observe the planned location for 24 hours at different times of the day. Note who walks by and when. Only then decide on the spot.
For creative ideas for urban hideout types, it's worth taking a look at the Cachewerk guides.
What materials and tools do you need in Germany?
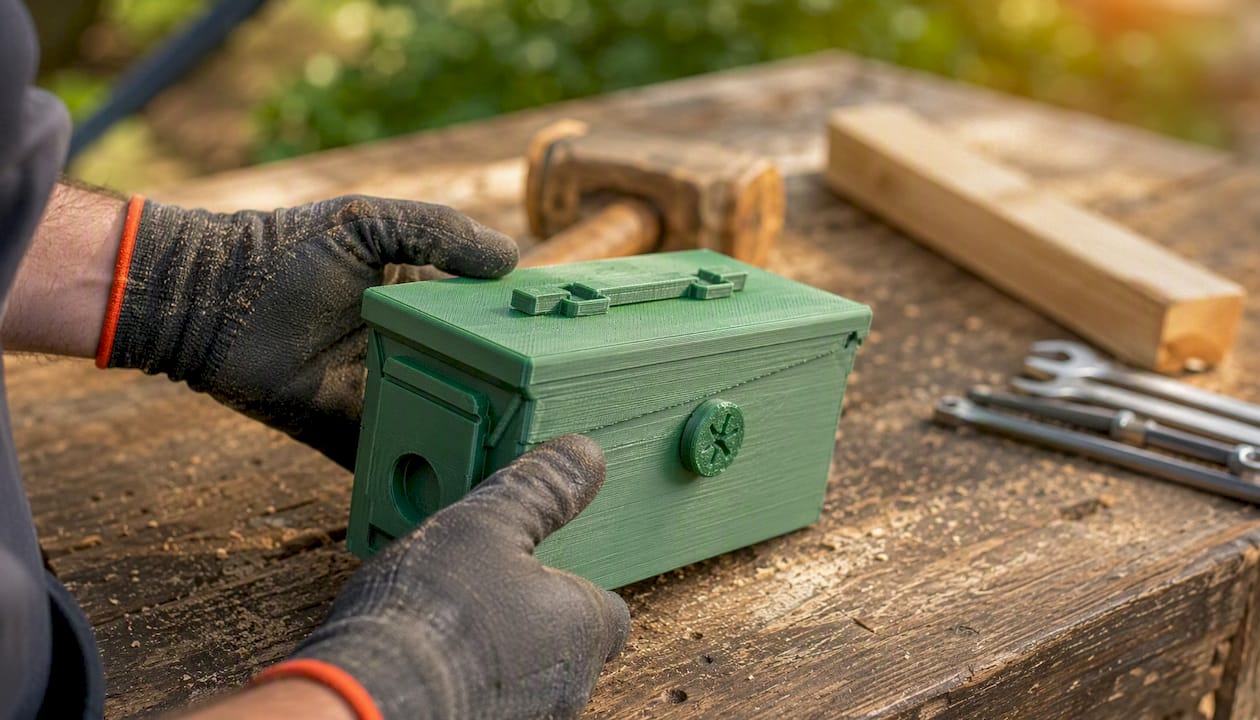
Weatherproof materials are not a luxury; they are a must. PETG containers withstand UV radiation and frost significantly better than standard plastic.
| Material | Function | Recommendation | Cost (approx.) |
|---|---|---|---|
| PETG Box / Ammo Box | Main container, weatherproof | PETG instead of PLA; metal Ammo Box | Low double-digit Euro range |
| Neodymium Disc Magnets | Magnetic opening | Flush-mount neodymium magnets | 3–8 € |
| Epoxy Resin (2K) | Fix magnets and built-in parts | e.g., UHU Endfest | — |
| Silicone Sealant | Moisture protection | Sanitary silicone, transparent | 4–8 € |
| Desiccant (Silica Gel) | Bind internal moisture | 5g bags, replaceable | 2–5 € |
| Heavy-duty Anchors and Screws | Anchoring | For concrete/brick, not screed | 3–6 € |
Tools: Drill with masonry bit, jigsaw, silicone gun, spirit level, line detector.
Total budget per simple hideout: In the low double-digit Euro range. More elaborate builds with magnetic mechanisms and camouflage can cost correspondingly more.
Securing a hideout step-by-step: From planning to testing
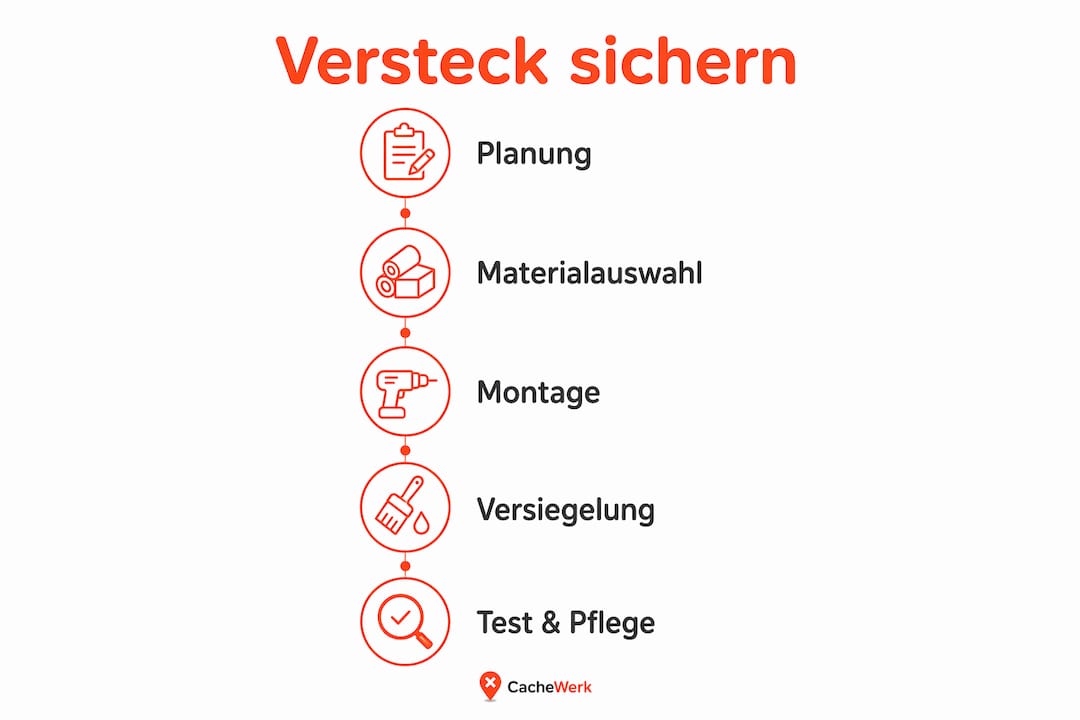
Follow this sequence consistently. Skipping steps risks moisture damage or too conspicuous a placement.
- Confirm location (30 min): Sightline check, take photos, measurements
- Prepare material (1 hour): Select container, prepare magnets and sealant
- Prepare cut-out or installation: Locate lines, mark drill holes, prepare cabinet or subsurface
- Apply moisture protection: Apply silicone inside and out, insert desiccant, allow to cure for at least one day
- Assembly: Flush-mount neodymium magnets and fix with epoxy resin; for heavy covers, distribute several magnets to avoid point loads
- Anchoring: Set heavy-duty anchors in load-bearing masonry, not screed as the sole base
- Camouflage: Adapt surface, no straight lines, use natural materials
- Test: Water tightness test (briefly immerse container in water), magnetic opening test, muggle visibility check from a safe distance, stress test by pulling
Pro-Tip: Allow the silicone to cure for at least 24 hours before closing the container. Fresh silicone does not seal completely.
For camouflage techniques in urban environments, Cachewerk offers a detailed step-by-step guide.
How do you protect your hideout against theft and manipulation?
Camouflage alone is not enough. Combine three levels of protection: mechanical, visual, and documentary.
Mechanical Measures:
- Anchoring in load-bearing concrete or brick, never just in screed
- Magnetic opening with multiple magnets: significantly complicates accidental opening
- Weight distribution: heavy covers are harder to remove
Visual and Digital Measures:
- Adhesive or wire seals as tamper evidence
- Motion detectors or hidden camera, if the location allows and is legally permissible
- Environmental integration: Workshop or cellar furniture as camouflage looks more inconspicuous than picture frames
Golden Rule of Secrecy: The greatest danger to your hideout is yourself. Those who talk about it lose its protection. Keep the circle of those who know as small as possible and conduct regular checks.
Signs of manipulation: displaced camouflage materials, scratches on openings, broken seals. Document every finding with date and photo.
How often and how do you maintain your hideout?
First check after one week, then monthly for the first three months, then quarterly. This sounds like a lot, but it's the only way to detect damage early.
Maintenance Checklist:
- Check seals for cracks or detachment
- Check desiccant for color change (silica gel turns pink when saturated)
- Test magnetic opening for loss of strength
- Check camouflage for displacements or UV damage
- For ground hideouts: Check for settling and water ingress
Typical Aging Problems:
- Moisture due to cracked seal
- Magnet fatigue after 2–3 years of intensive use
- UV damage to plastic containers without UV protection
- Rust formation on metal parts without corrosion protection
Document every maintenance visit with a photo and date. This helps you identify patterns and react proactively.
Three example builds: Urban, forest, and workshop
| Build | Location | Materials | Construction Time | Cost |
|---|---|---|---|---|
| Urban (Ammo Box) | Urban environment, masonry | Ammo box, magnetic closure, concrete paint | 2–3 hours | — |
| Forest (Ground Hideout) | Forest edge, damp soil | PETG box, double seal, natural materials | 3–4 hours | — |
| Workshop/Cellar | Interior furniture, workshop | Wooden panel, drawer integration, rubble camouflage | 4–6 hours | — |
Urban Variant: The Geocaching Ammo Box Hideout Trick Edition from Cachewerk is ideal for urban placements. Magnetic closure, weatherproof casing, and inconspicuous design ensure high discovery resistance. Simply attach it to a wall, adapt it with concrete paint, and you're done.
Forest Variant: Double sealing is mandatory here: an airtight PETG inner box, encased by a second waterproof protective cover. The outer camouflage of moss and branches must not show straight lines, otherwise, it will immediately stand out.
Workshop/Cellar: Integrate the hideout into existing furniture. A secret compartment in a cabinet with a magnetic opening looks like a normal piece of furniture. Rubble or tools as camouflage on top, and even attentive visitors will look twice. For Escape Room inspiration on how hideouts can be creatively staged, it's worth taking a look at Die verborgene Zuflucht by TnT Exit Games.
Key Takeaways
A secure hideout is created by combining a well-thought-out location, weatherproof materials, mechanical hardening, and consistent secrecy.
| Topic | Details |
|---|---|
| Location first | Analyze sightlines before you build; bad locations cannot be camouflaged away. |
| Plan for redundancy | Several small hideouts are safer than a single large one. |
| Seal weatherproof | Silicone, desiccant, and PETG containers protect against moisture damage. |
| Harden mechanically | Fix neodymium magnets with epoxy resin, anchor in load-bearing masonry. |
| Cachewerk as a solution | The Ammo Box Trick Edition provides weatherproof magnetic closure and a ready-to-use design. |
Why this method really works
Most geocachers fail not because of the technique, but because of the order. They buy the material first and then look for the location. That's backward thinking. Those who analyze the location first automatically choose the right materials and save themselves expensive rework.
What convinces me about this method: It combines what really works in the community. Redundancy, secrecy, and regular maintenance are often more important than any technical sophistication. A simple PETG container with proper silicone sealing survives three winters without problems. An elaborately constructed hideout with a poor location choice is discovered after six months.
Cachewerk has translated these community experiences into concrete products: weatherproof, magnetic, ready for immediate use. This saves time and gives you more energy for what geocaching is all about.
Cachewerk products for your next hideout
If you want to implement the instructions above, you need reliable materials. The Ammo Box Trick Edition from Cachewerk is built exactly for this: weatherproof, with magnetic closure and an inconspicuous design for urban and rural uses.
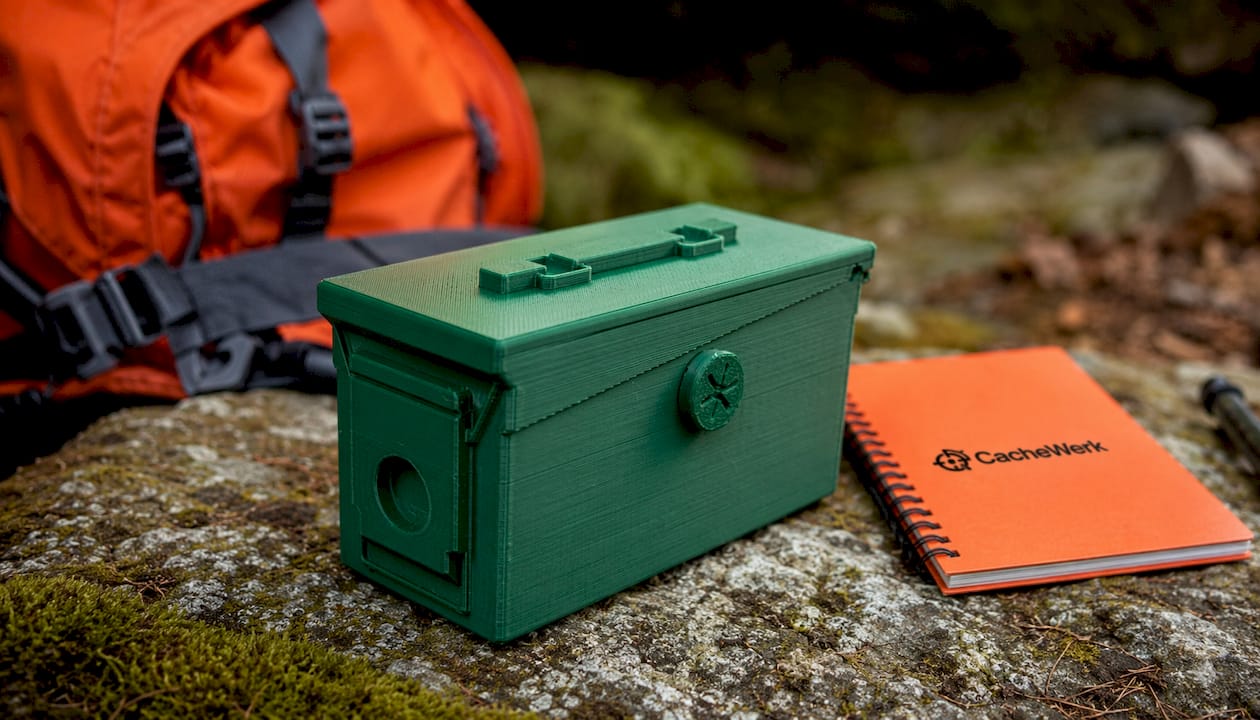
In the Cachewerk shop, you will find matching accessories: replacement magnets, sealants, logbooks, and other geocache camouflage solutions for every location. Check out the complete range and start your next build with the right equipment.
Further Resources
- Building and securing hideouts – Prepper Guide
- Instructions: Secret hideouts with magnetic opening
- Installing, anchoring, and hiding a furniture safe
- Building a secret compartment in a cabinet
- How to hide a safe – Zosi Blog
- Cachewerk: DIY Geocache Camouflage
- Cachewerk: Secret Hideouts Explained
This article serves as a general source of information. Always check legal and building code questions for your specific location with the relevant municipality or a specialist.
Recommendation
- Secure a Cache: Innovative DIY Guide for Geocachers – CacheWerk
- Secure Caching Tips: Creative Geocaching Hideouts – CacheWerk